How to create WhatsApp Flows in WABA
In this section, we'll walk you through creating your very first Flow. At the end of this tutorial, you'll have a completed and published demonstration Flow, ready to be use in Yalo Flow Builder and to be sent to other WhatsApp users.
Before you begin
- WhatsApp Business Account (WABA):
Ensure you have access to your WhatsApp Business Account. - Connection to Yalo:
The WhatsApp number must already be connected to Yalo as your Business Solution Provider (BSP). - Supported Platforms
Currently, WhatsApp Flows are supported on:- Android running OS 6.0 and newer
- iPhone running iOS 12 and newer
- WhatsApp Flows are not supported on companion devices (e.g. WhatsApp Web).
1: Create Your Flow
In the WhatsApp Manager of your WhatsApp Business Account, select Account tools on the left-side menu and then click Flows.
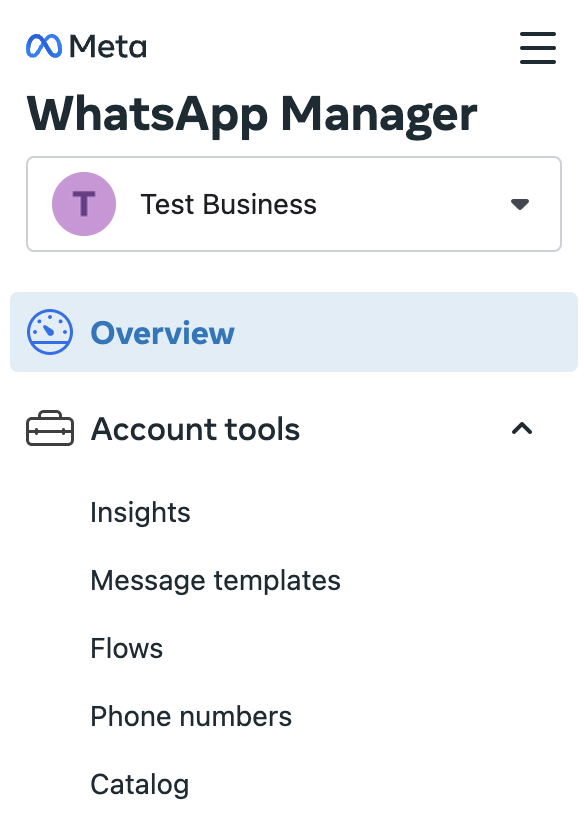
On the top right of the page, click the button titled Create Flow.

This is only true if you have already created a Flow. If this is your first Flow, you will see a button titled Start building Flows instead.

A new screen will open where you can enter some details about your Flow.
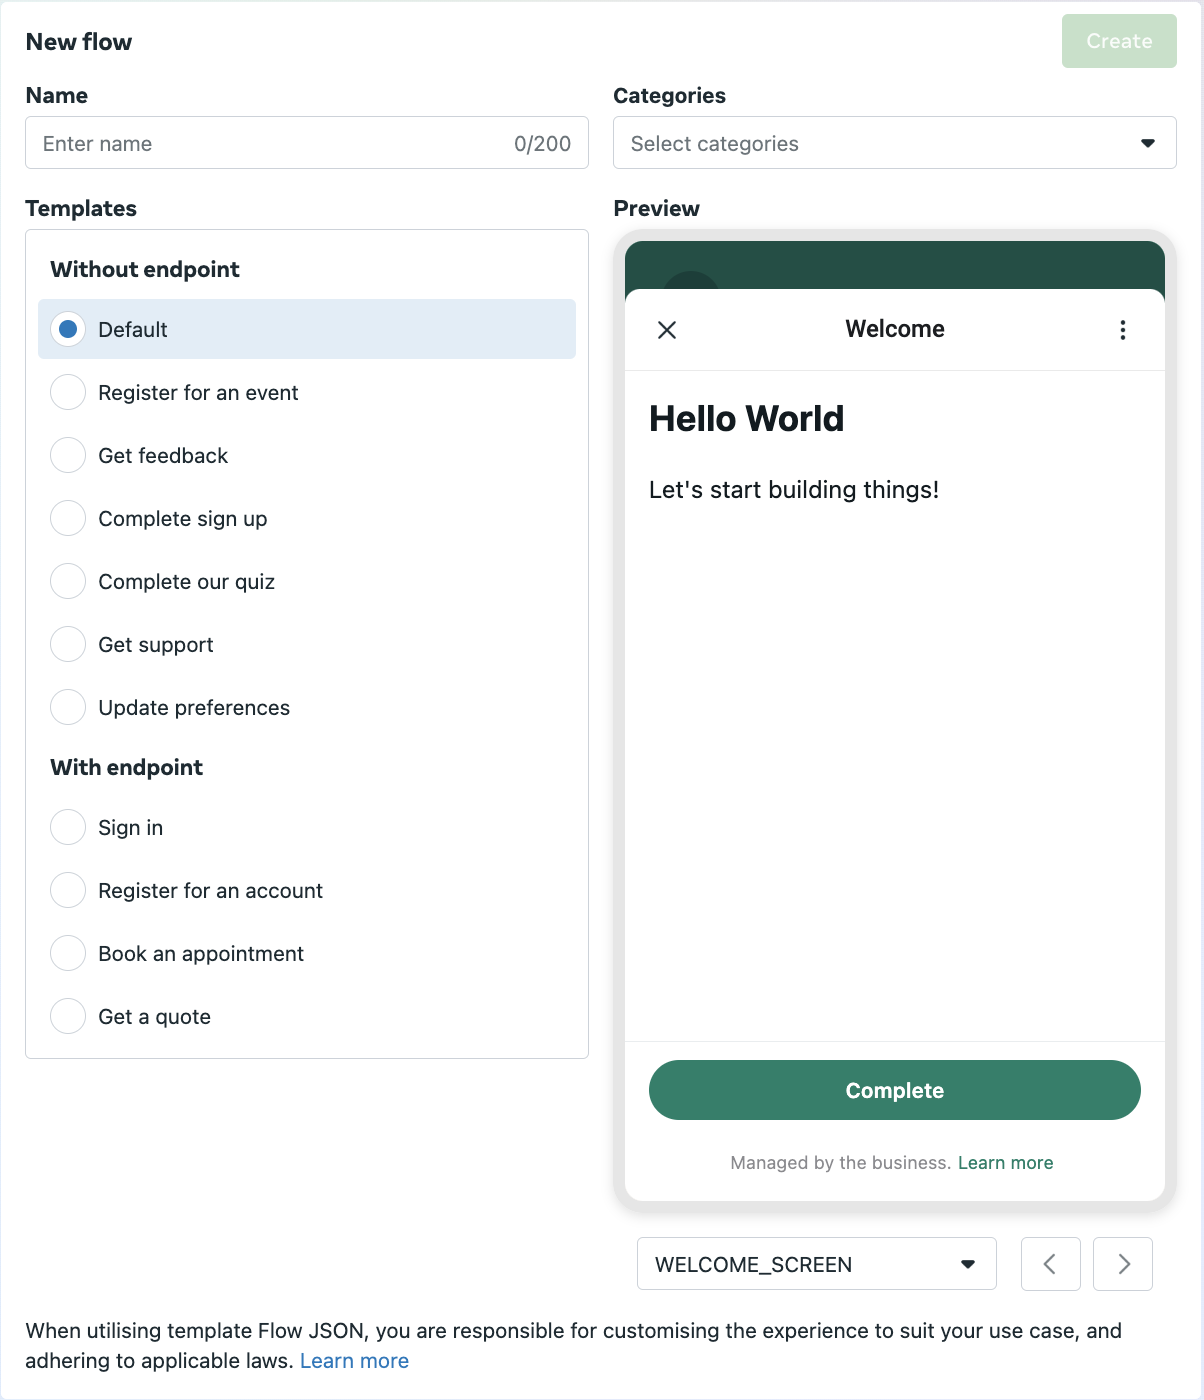
What do these fields mean?
Name: The name is a unique identifier for your Flow across your business account. Generally, try to choose a name that describes your Flow and its purpose. In this case, enter my_first_flow.
Categories: Choose any categories that match the purpose of your Flow from the list of options. If none of the categories listed make sense for your Flow, just check "Other". In our case, choose "Other".
Template: Template Flows have been developed to make it easier for you to get started. If any of the templates are similar to what you'd like your Flow to do, use a template as a starting point for your Flow, and customise the experience to suit your use case, audience, and market. For this tutorial, leave this as “Default”. You can see the preview of the template on the right side under “Preview” section and interact with it as well. More detail on Meta templates can be found here.
2: Build Your Flow JSON
To help you move quickly, here's a very simple demonstration ("Hello World") Flow. You can edit it here and then copy-and-paste it over to the Flows Builder UI when you're ready. (You can also preview it inside the builder.)
Simplifying Flow Creation
For an easier and more efficient way to create WhatsApp Flows, we suggest using the WhatsApp Flows Playground. You can access it here: WhatsApp Flows Playground. This tool simplifies the process and helps you design your flows quickly and effectively.
Once you've pasted the JSON into the Flows Builder UI, click Run to preview the Flow. If you're happy with the demonstrate Flow, click Save.
 and [Components](https://developers.facebook.com/docs/whatsapp/flows/reference/flowjson/components)](https://files.readme.io/9541a53-image.png)
Learn more about Flow JSON and Components
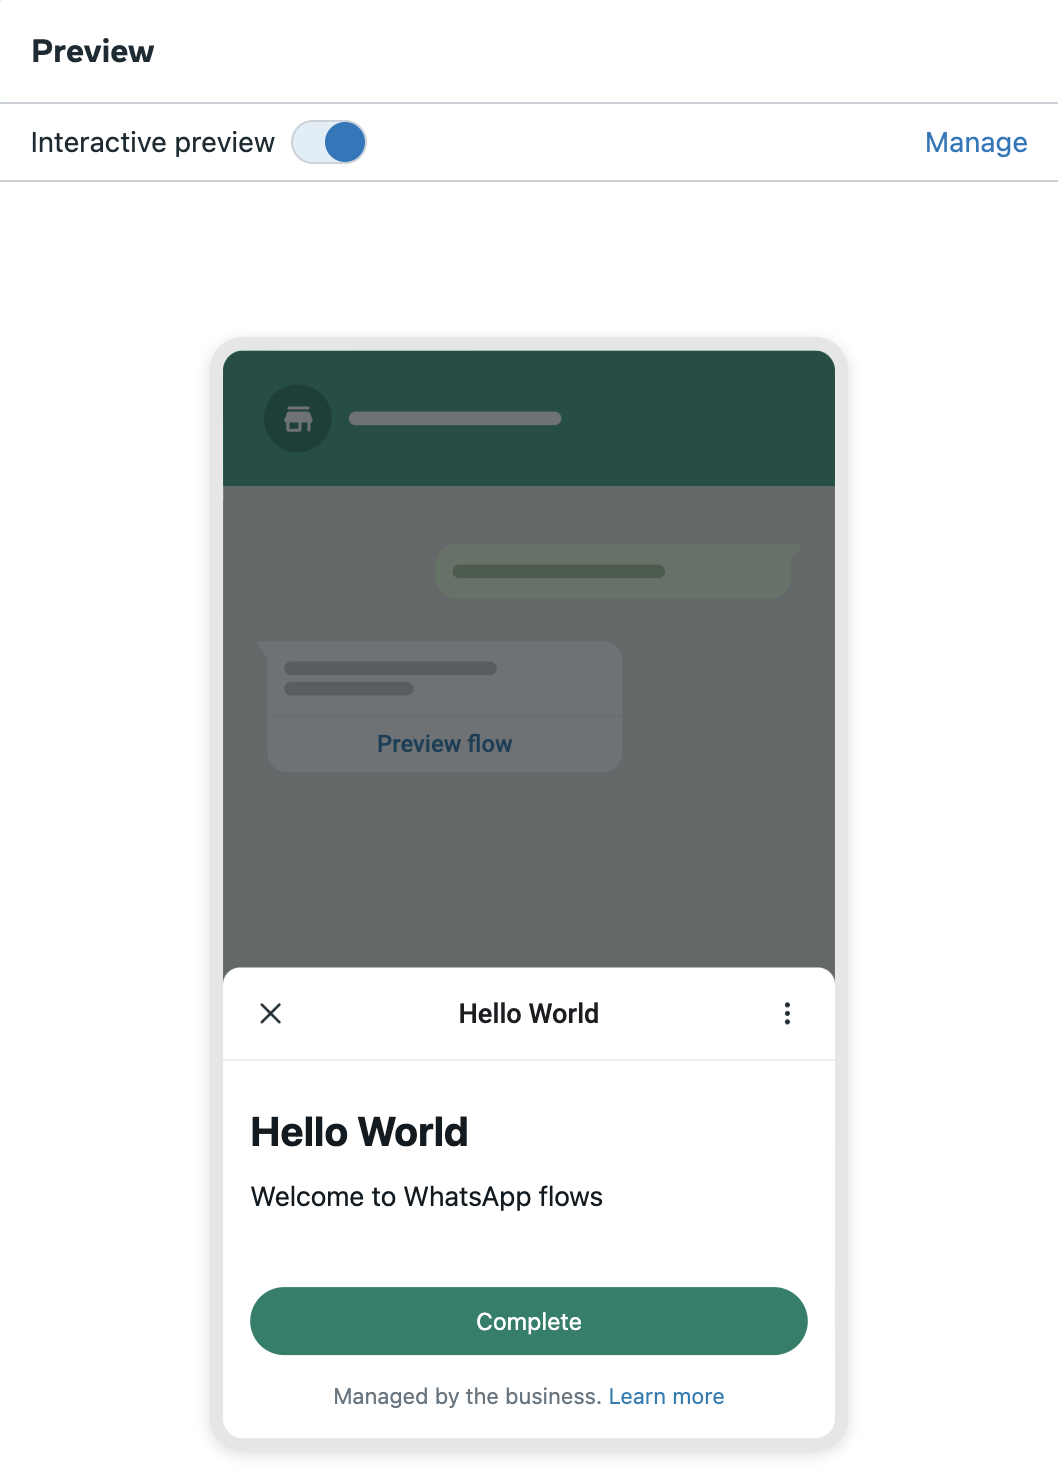
3: Test Your Flow
The easiest way to test a Flow is by using the Interactive preview option which simulates the real experience. You can click on the Flow's green Complete button to see the Flow in action.
4: Publish Your Flow
When you first created your Flow, it entered the Draft state. And as you edited and saved the modified Flow JSON content, it remained in the Draft state. You are able to send the Flow while it's in the Draft state, but only for testing purposes. If you want to send the Flow to a larger audience, you'll need to Publish the Flow.
You can publish your Flow once you have ensured that:
- All validation errors and publishing checks have been resolved.
- The Flow meets the design principles of WhatsApp Flows
- The Flow complies with WhatsApp Terms of Service, the WhatsApp Business Messaging Policy and, if applicable, the WhatsApp Commerce Policy
Flow Status
Remember, once a Flow has been published it can no longer be modified. See Flow Status Lifecycle for more information on the different Flow states.
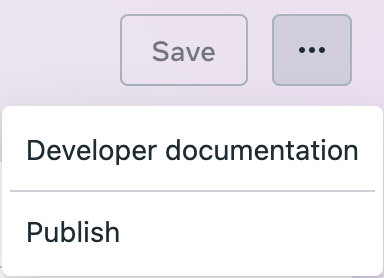
To publish your Flow, open the menu to the right of the Save button and click Publish. Once published, the Flow can be sent to anyone!
Take a look all process:
Updated 4 months ago