Commerce - Zoomailer for partners
General information
Commerce - Zoomailer is a service that allow customers to perform bulk import operations by through an email.
The supported entities for bulk operations are:
- stores
- customers
- products
- prices
- stocks
**Previous requirements**
Before you can use the Commerce-Zoomailer system you must accomplish certain requirements to start sending emails.
Storefront authorization
The email address from where you are going to send the email must be added to the storefront in the authorizedEmails field, with the purpose of only accepting these email addresses.
The authorizedEmails is an array of emails so you can add more than one email.
To add an email to your storefront you need to call the mutation updateStorefront in the Headless Admin API with the email you want to add:
mutation UpdateStorefront($data: UpdateStorefrontInput!, $name: String) {
  updateStorefront(data: $data, name: $name) {
    name
    **authorizedEmails**
    owner
  }
}
Here’s an example of the variables as JSON passed to the previous mutation:
{
  "data": {
    "authorizedEmails":["[email protected]"]
  },
  "name": "storefrontName"
}
Templates - CSV file
The other requirement is that you need to have the CSV file ready with the data you want to do the bulk operation.
You can download the templates for the CSV files here:
💡 Is important that you use the templates listed above so you can review the structure you need to use. This is because the import process only works if it has that structure.Custom Fields - Customers
In the customers template you can add custom fields at the end, a column for each one and this fields will be added to the customFields property in the customer entity.
So for example you can add in your CSV a column like region and contactNumber and fill this column with the data you need. After the import in the customer entity it would look something like this:
{
  "data": {
    "customers": [
      {
        "id": "623274b0003ffe2714f3860d",
        "code": "51007680",
				.
				.
				.
        "customFields": {
          "contactNumber": "5518377337",
          "region": "20081",
        }
      },
    ]
  }
}
Process
1. Sending the email
The email that you will send must have a certain structure so the system can properly work and start the bulk operation of your data.
From: address
You must send the email using the email address that you previously added in the authorizedEmails field for your storefront here.
To: address
You must send the email only to this Yalo email address:
💡 Is not necessary to add any other To, Cc or CCO email address.Subject
The subject of the email address needs to be the entity to which you want to make the bulk operation. Is only one word and can be:
- stores
- customers
- products
- prices
- stocks
- promotions
Body
For now, this text is not taken into consideration in the system. So, you can write anything or leave it blank.
Attachment
Here you need to add the CSV file that you want to import. The name of the file, for now, is not taken into consideration so you don’t need to put anything special.
💡 Remember that you must attach only one file and it has to be a CSV file. If you attach more than one file or other type of file, the email will be discarded. Also, you must attach the CSV file directly; you can’t attach a zip file. Also, if you want to **replace** the existing entities (products, clients, prices, etc) configured in the database you need to name the csv file with a “replacement” postfix (e.g. ***promotions-replacement.csv***), which will disable all the previously created items (e.g. if prior to send the file 100 products were present in the database, all of those will be deactivated and the new ones present in the file will be the only ones active).Example
Below you can find an image of an example of how you must send the email:
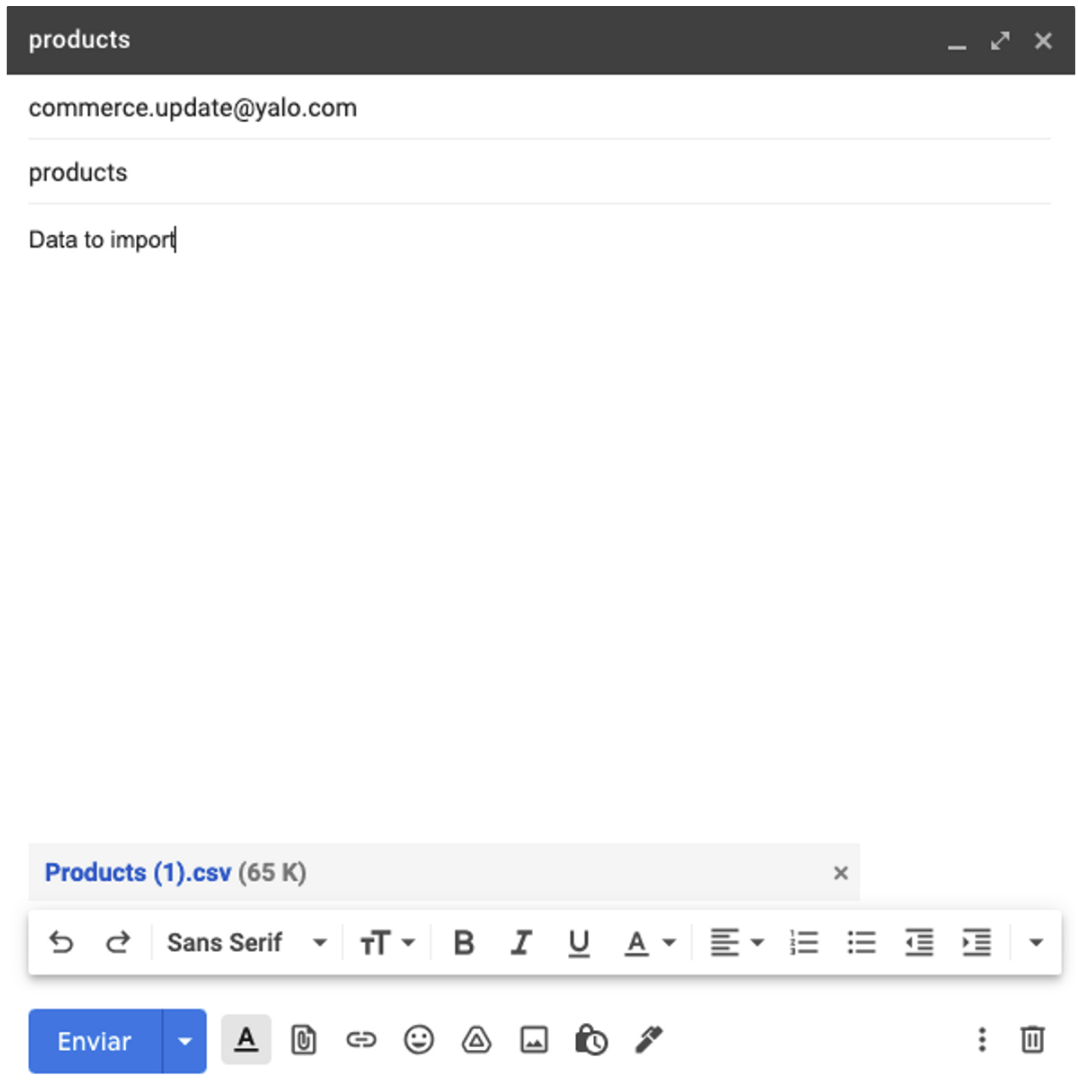 💡 This email will start a bulk operation for the products entity
2. Response - Process started
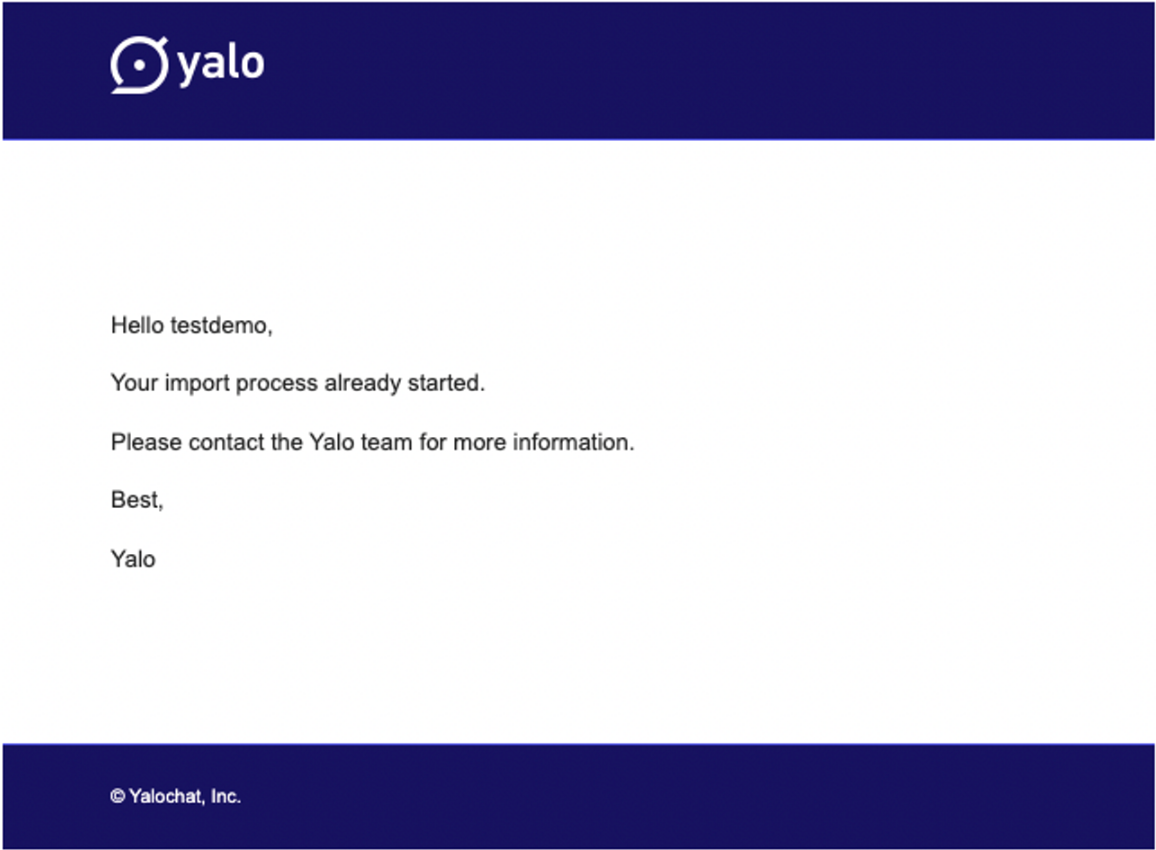
When you send your email if everything is correct you will receive an email that the process for the bulk operation will start.
The email that you will receive is something similar to this:
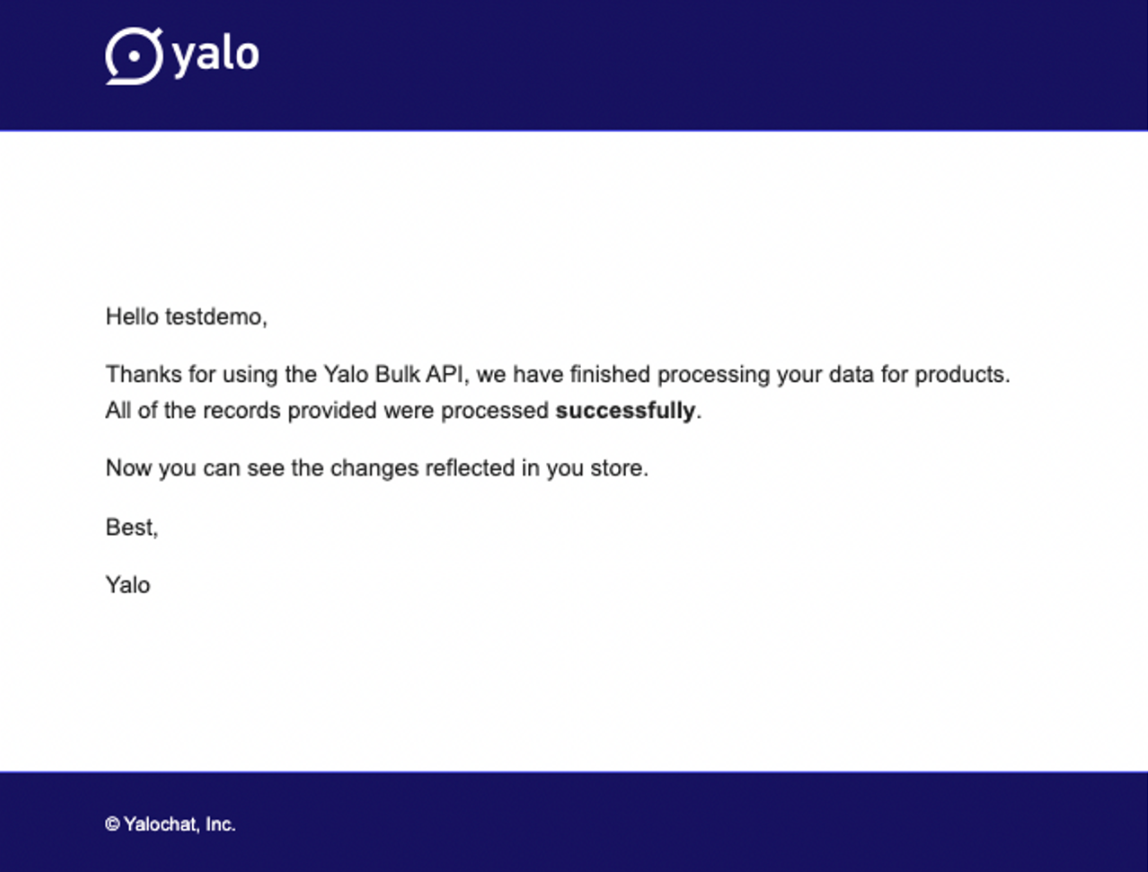
3. Response - Process finished
Once the process finished, you will receive another email
System restrictions
The system has some restrictions that should be considered:
- An email can contain only one attachment, in other words an email represents one bulk operation for a certain entity.
- Only one bulk operation can exist for the same entity in a storefront. For example if you sent an email for the
productsentity, you must wait until this operation finishes to send another bulk operation for theproductsentity. - Multiple bulk operations can exist for a storefront but when these operations are for different entities. For example, if you send an email to start a bulk operation for
products, you don’t need to wait for this operation to finish to send another email to start a bulk operation for another entity, for examplestocks.
Updated over 1 year ago