Admin Panel
You can manage and configure Sales Desk for your teams through the admin panel.
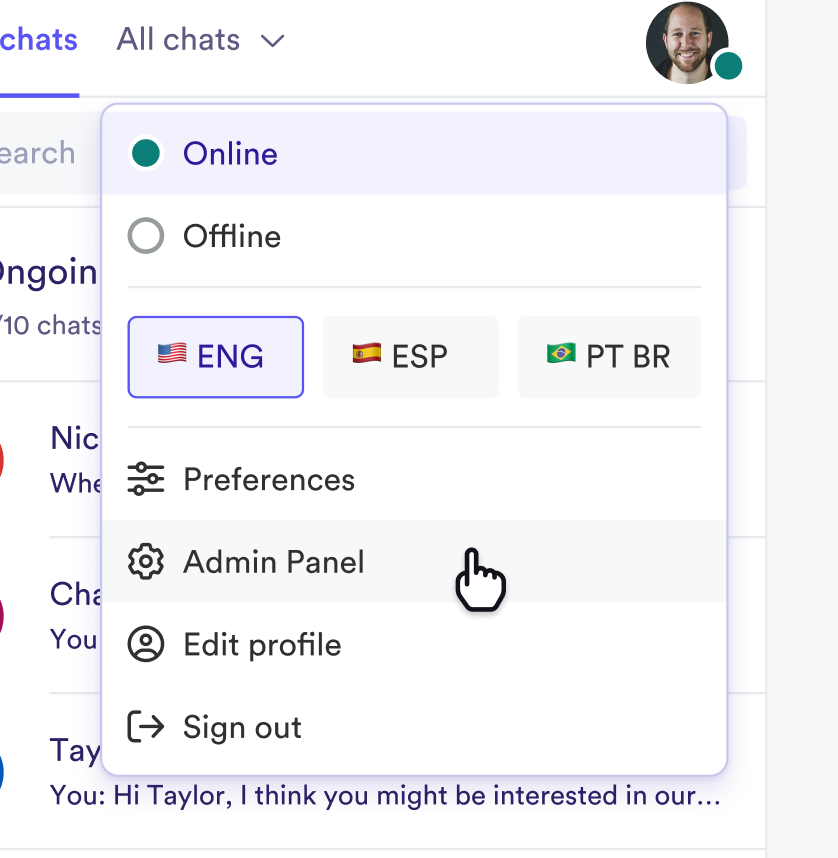
To access the admin panel:
Click your profile picture, then select Admin Panel.
Manage Teams
Managers can assemble and organize teams in Sales Desk to organize the service. This way they can control who has access to which chats.
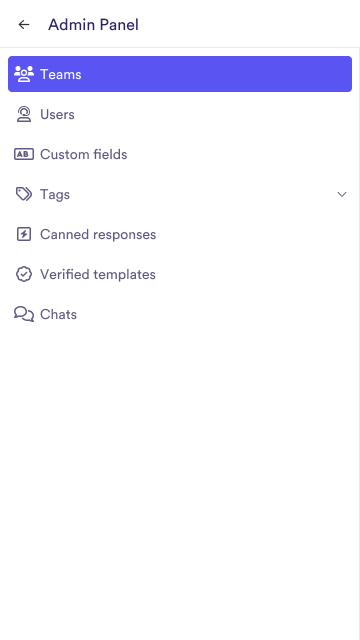
To manage teams inside the admin panel:
Click Teams in the navigation menu.
Viewing and search teams
The list shows teams by:
- Team names
- Amount of agents per team
- Supervisors
- Units assigned to each team
- Whether they're active or not.
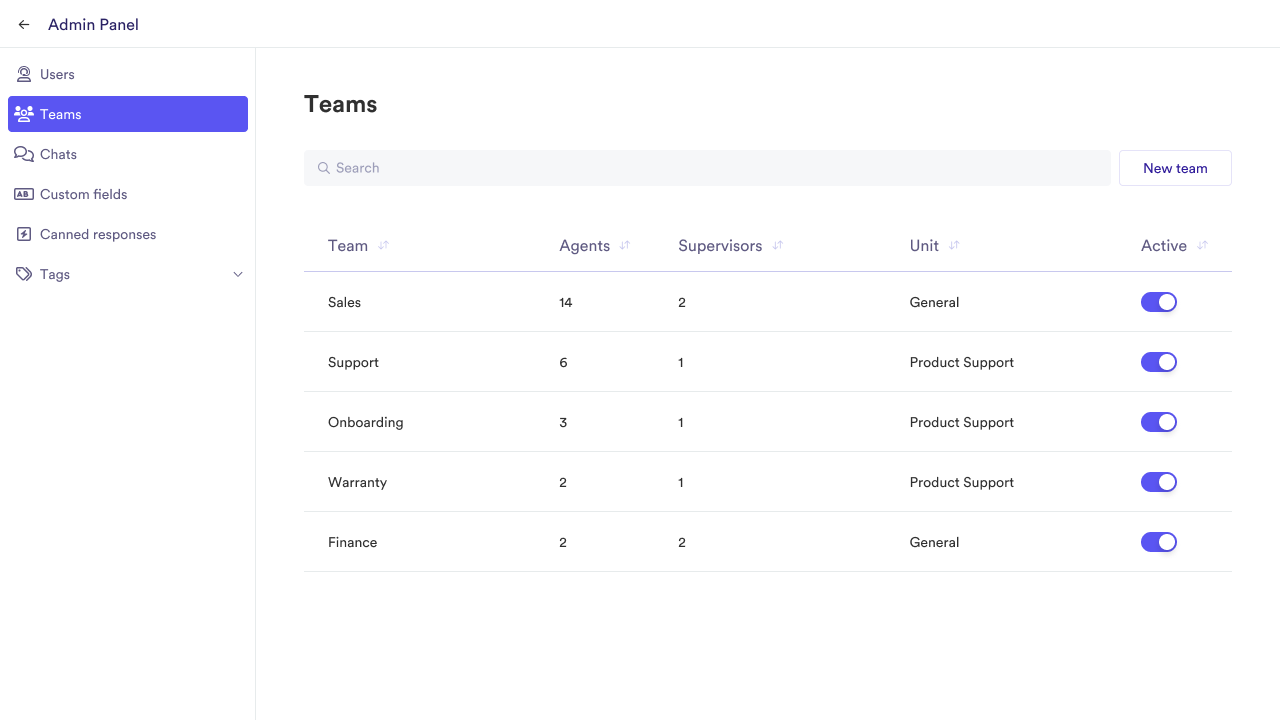
You can use the search bar to look for custom fields by team name.
Create a new team
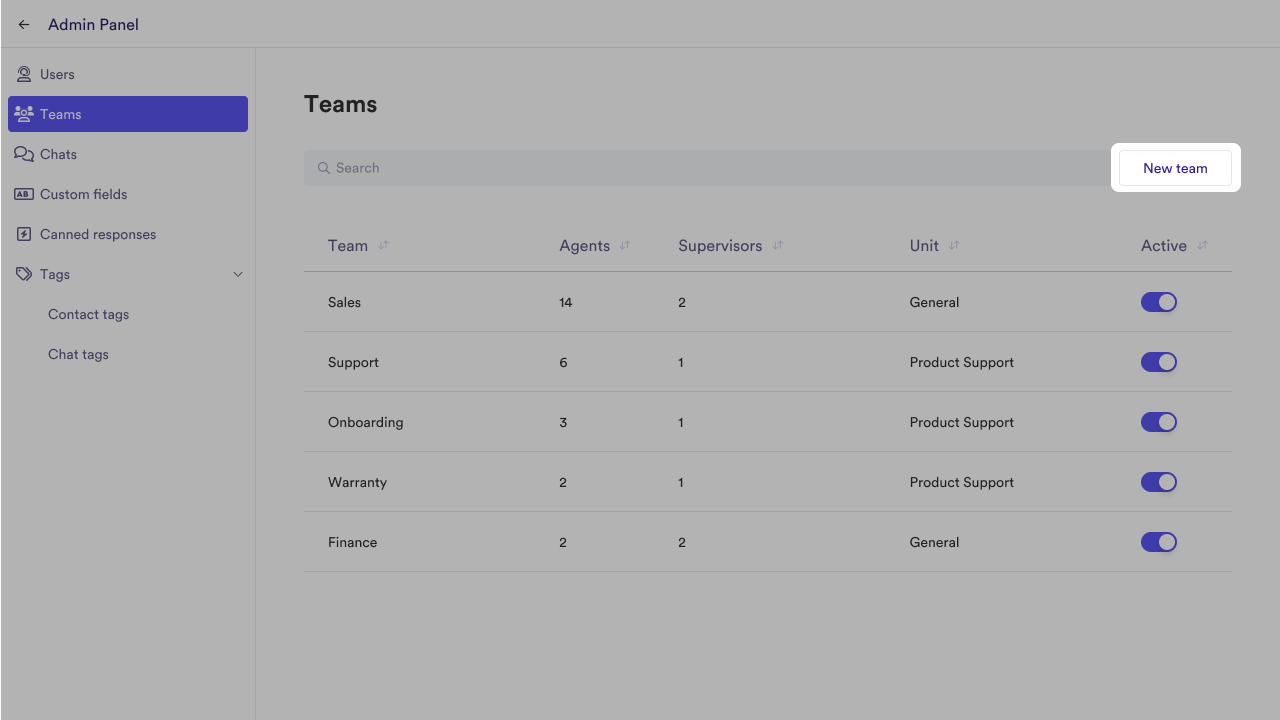
To create a new team:
- Click New team.
- Define Team name.
- Provide an e-mail address for the team. This e-mail will receive notifications and reports about the team in the future, for now just to register in the solution.
- Define the time for abandonment, which is how long the conversation can remain in the conversation list without receiving replies before it closes automatically.
- Define the maximum cap for simultaneous chats the user can be responsible for at any given moment, or leave it empty for unlimited chats.
- Select the agents that belong to the team and will have access to chats sent to it.
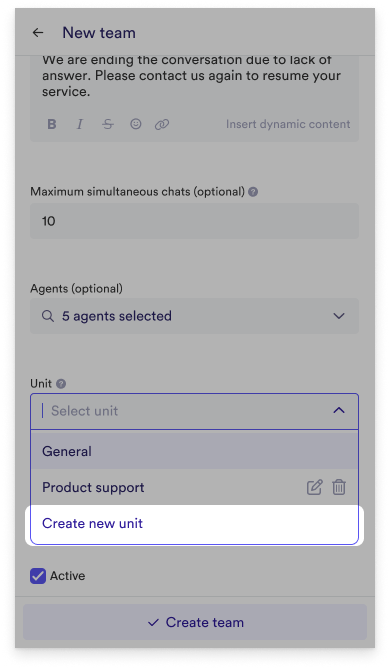
- You can assign Teams under Units to facilitate grouping teams for supervision. This option is set to the "General" unit by default. Click the selector and choose "Create new unit" to create a new unit. Supervisors will have access to all chats in teams belonging to their units, and can also manage agents from these teams.
- Choose tags to be automatically assigned to chats that are closed by this team.
- Click Create team to finish.
Editing teams
To edit an existing team:
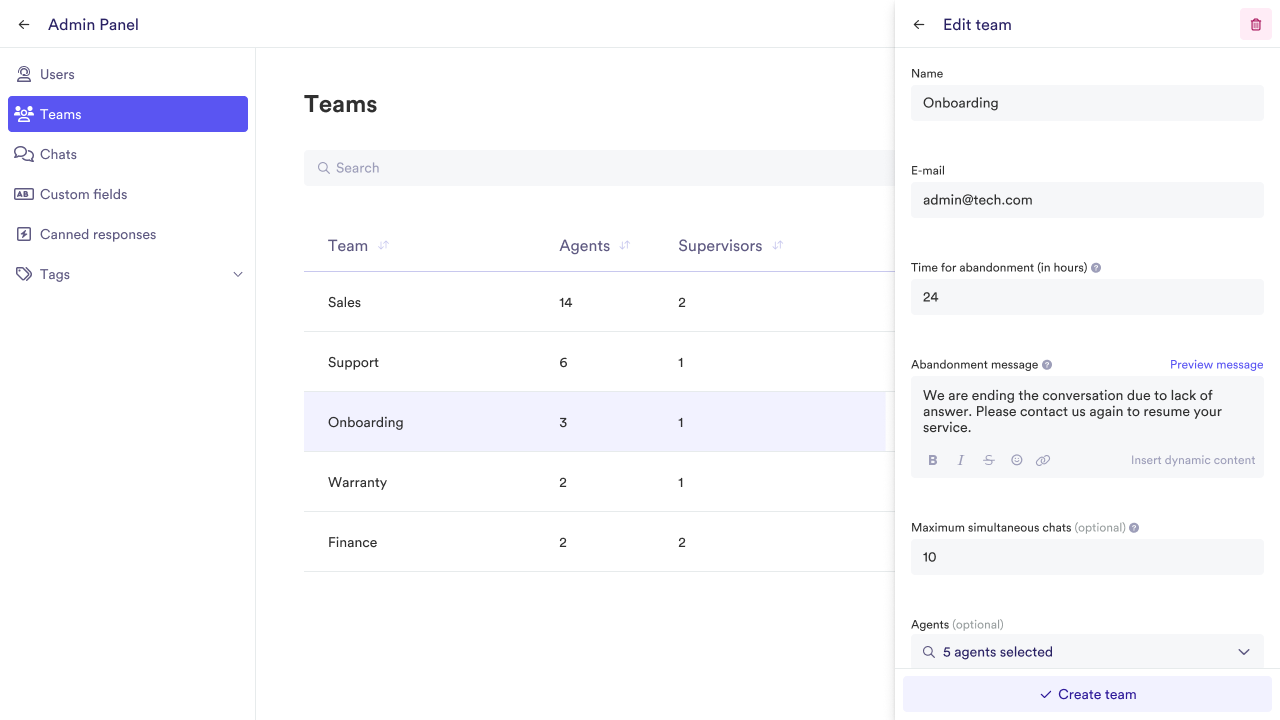
- Select the team in the list.
- Change the details as needed.
- Click Save changes when you're done.
Deleting or deactivating teams
You can delete teams. To do this:
Click the Delete button.
If you wish to disable a team temporarily instead, you can use the switch under the "Active" column in the Teams list or untick the "Active" checkbox while editing a Team. You can reactivate teams at any time using the same buttons.
Manage Users
Supervisors and managers can add users and assign their roles and teams to organize the service.
To manage users inside the admin panel:
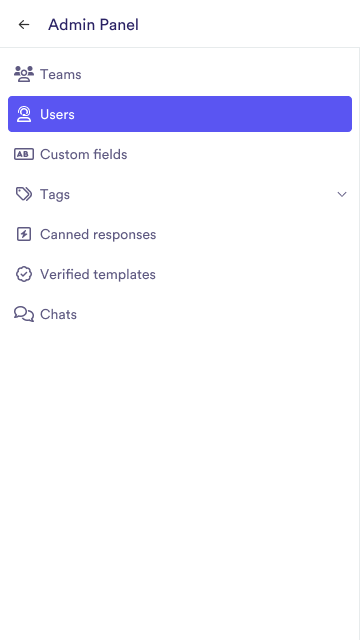
Click Users in the navigation menu.
Viewing and searching users
The list shows users by:
- Their current status
- Their name
- Their username
- Their email
- Their role.
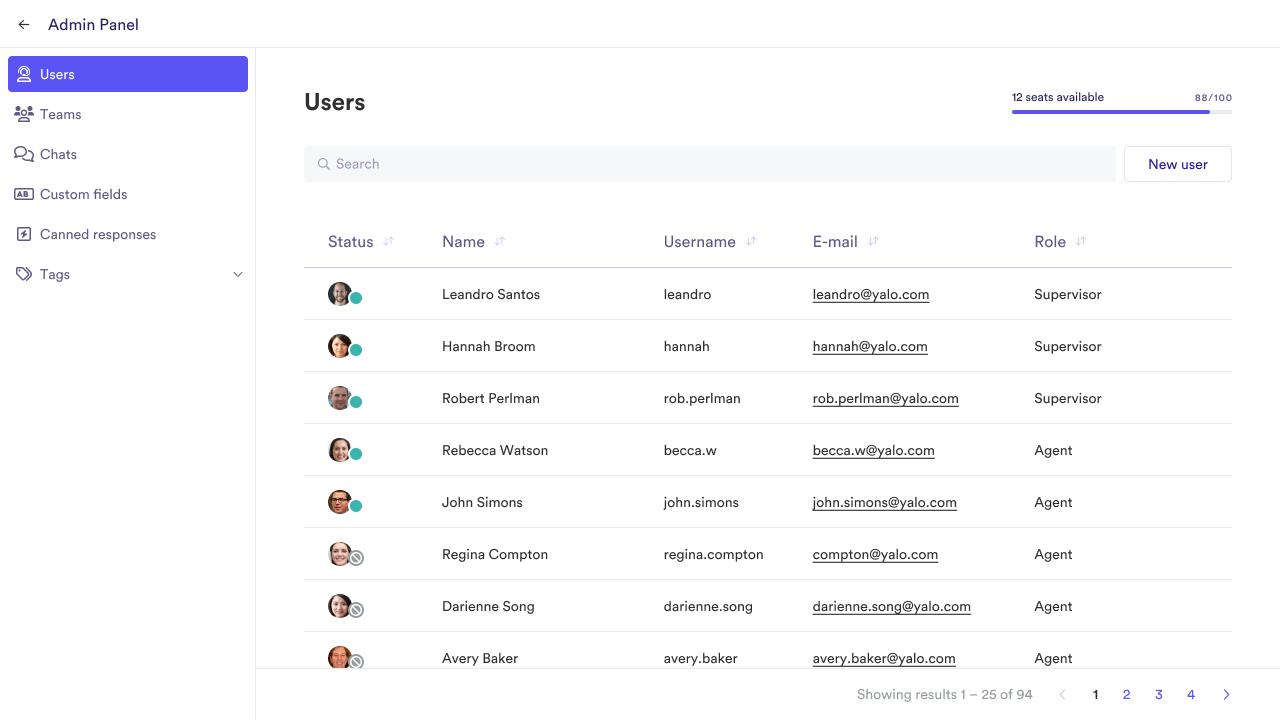
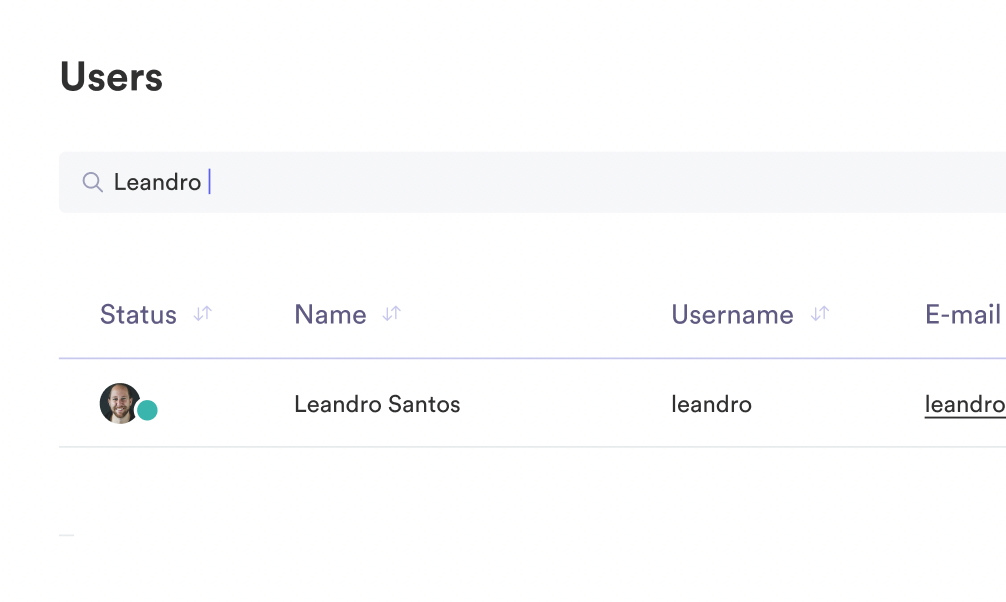
You can use the search bar to look for users by name, username, or email.
Creating new users
To create a new user
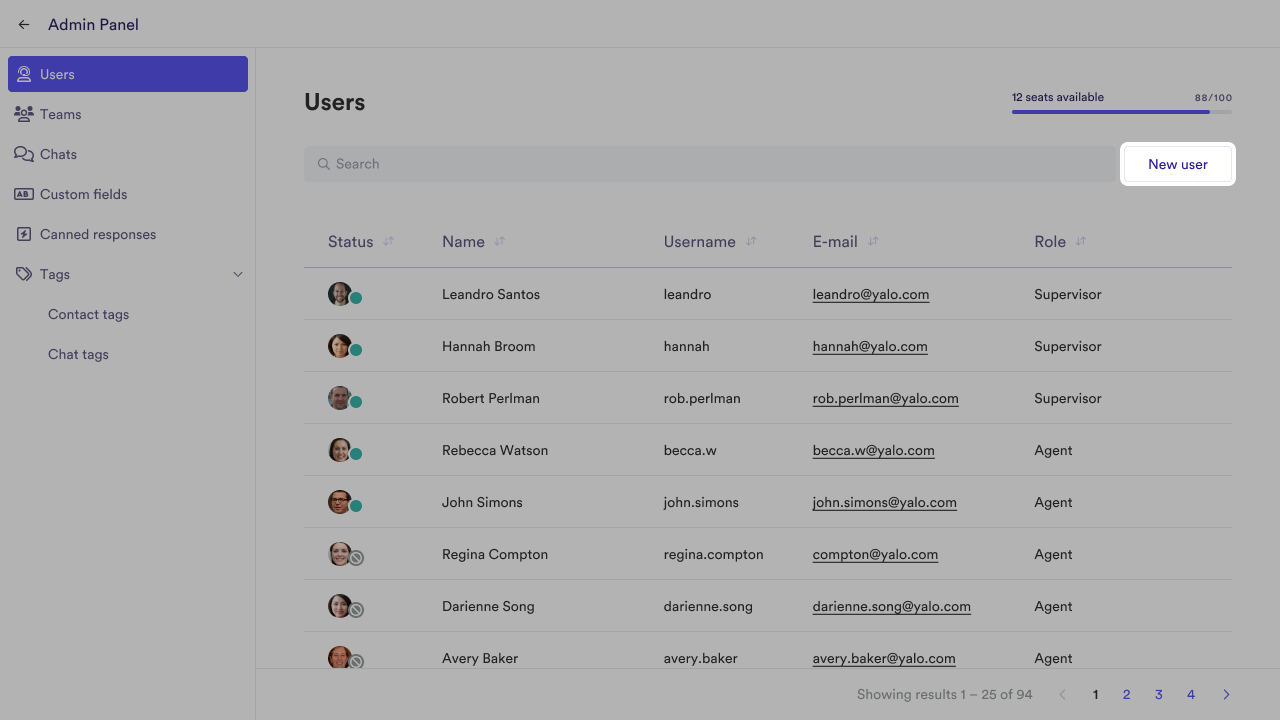
- Click New user.
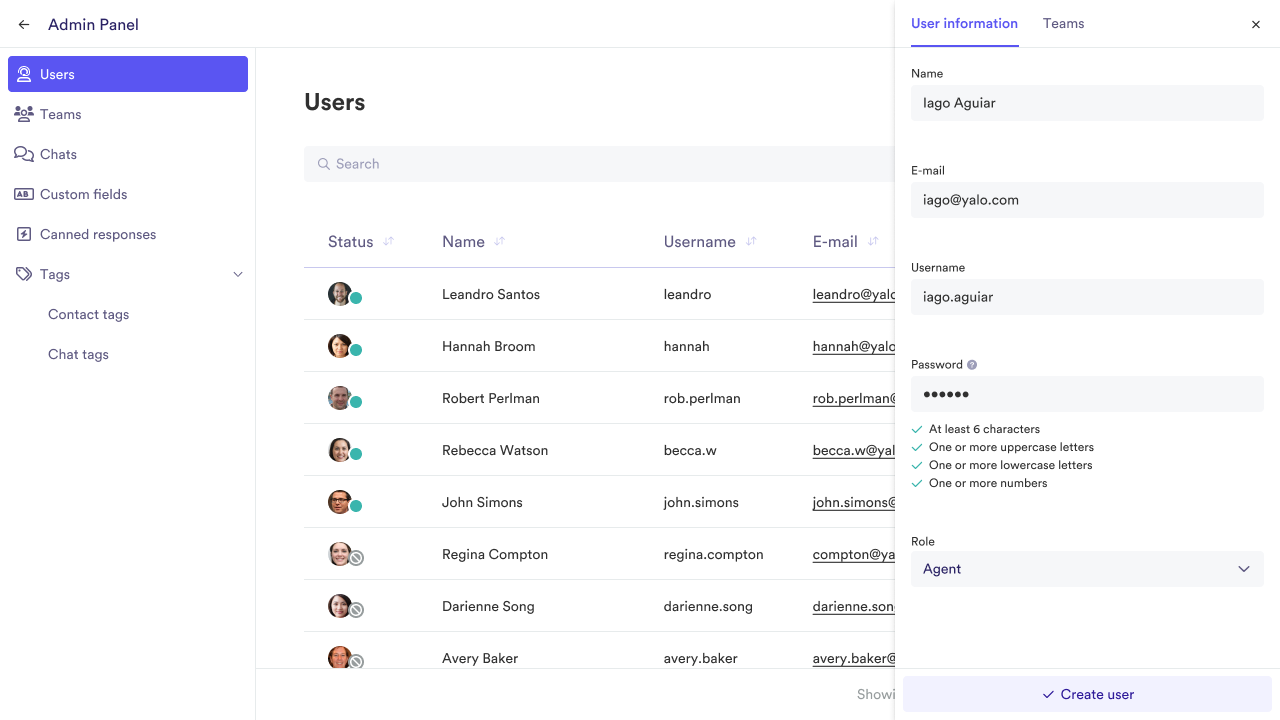
- Fill in the user's name and e-mail address.
- The system will automatically define a username from the user's e-mail.
- Create a password. The user will have to define a new password after logging in.
- Pick their role. Agents only have access to chats belonging to teams they're assigned to, and can't change settings in the Admin Panel. Supervisors have access and administrative permissions for teams belonging to Units they're assigned to, and Managers have unlimited access inside your organization in Sales Desk.
- Click Create user to proceed to the next step.
If the user is an Agent, you will be directed to the Teams tab, with two optional steps:
- Select the Teams the agent belongs to.
- Define the maximum cap for simultaneous chats the user can be responsible for at any given moment.
- Click Save Changes.
If the user is a Supervisor, the Teams tab will have only one selection field:
- Select the Units the supervisor will be responsible for.
- Click Save Changes.
If the user is a Manager, you don't have to do anything in the Teams tab because Managers have unlimited access inside the organization in Sales Desk.
Editing users
To edit an existing user:
- Select the user in the list, then click Edit user.
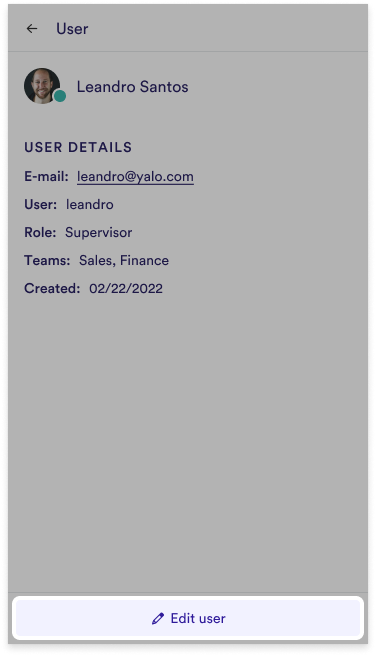
- Change the details as needed.
- Click Save changes when you're done.
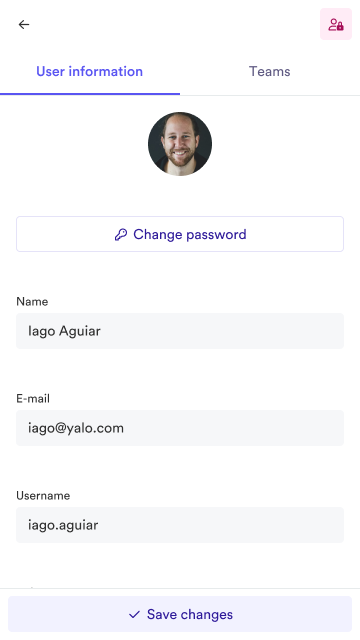
Deactivating users
You can deactivate users to free seats on your team. To do this:
Click the Deactivate button.
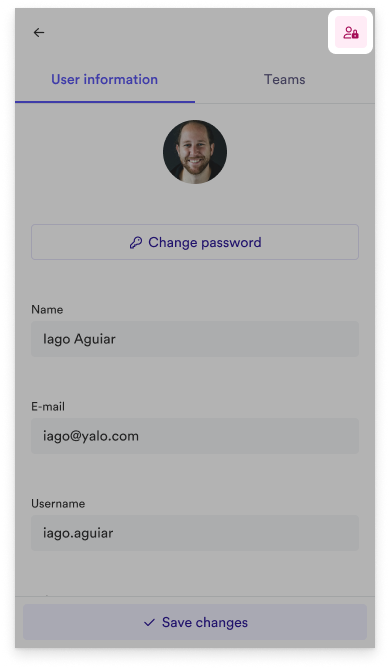
Activating users
To activate a deactivated user:
Click the Activate button.
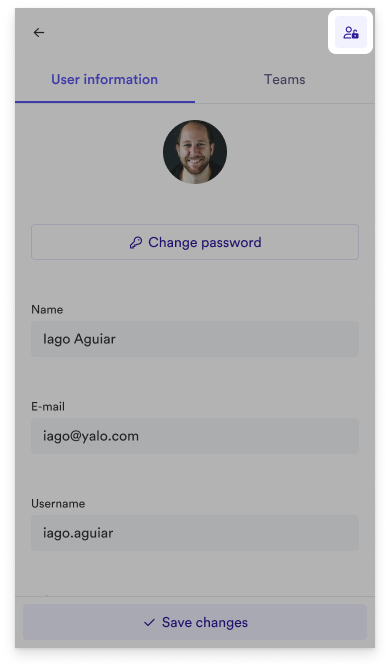
Keep in mind that you can only do this if there are empty seats in your organization.
Changing password
To change a user's password:
- Click Change password while editing the user.
- Define a temporary password for the user. This password is only valid until the next time they log in, then they will have to create a new password.
- Type your password to confirm.
Manager Contact Tags
Contact tags can help classify customers to provide a simple way for segmentation, so they can be tagged based on their characteristics. Supervisors and managers can search, create, edit and delete contact tags.
To manage contact tags inside the admin panel:
Click Tags in the navigation menu, then select Contact tags.
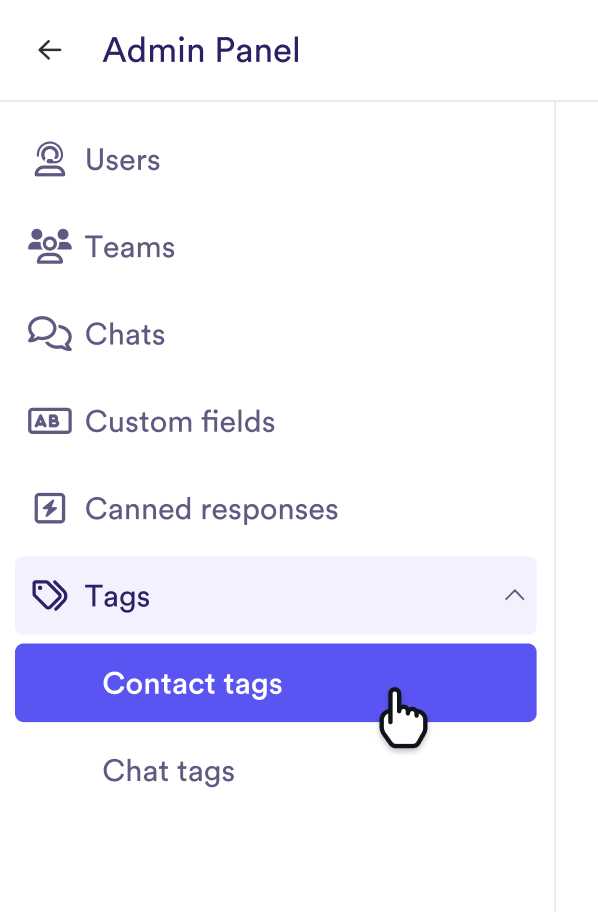
Viewing and searching contact tags
The list shows contact tags by name and the time they were last updated.
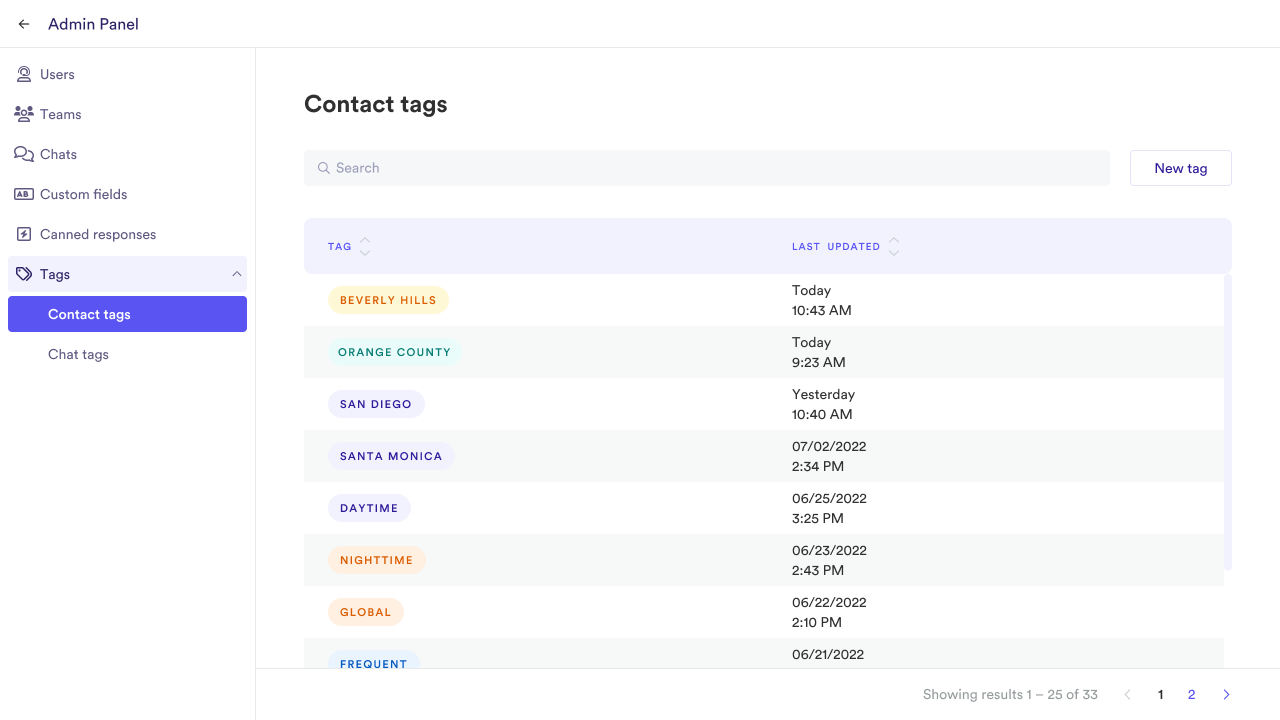
You can use the search bar to search for tags by name.
Creating new contact tags
To create a new tag:
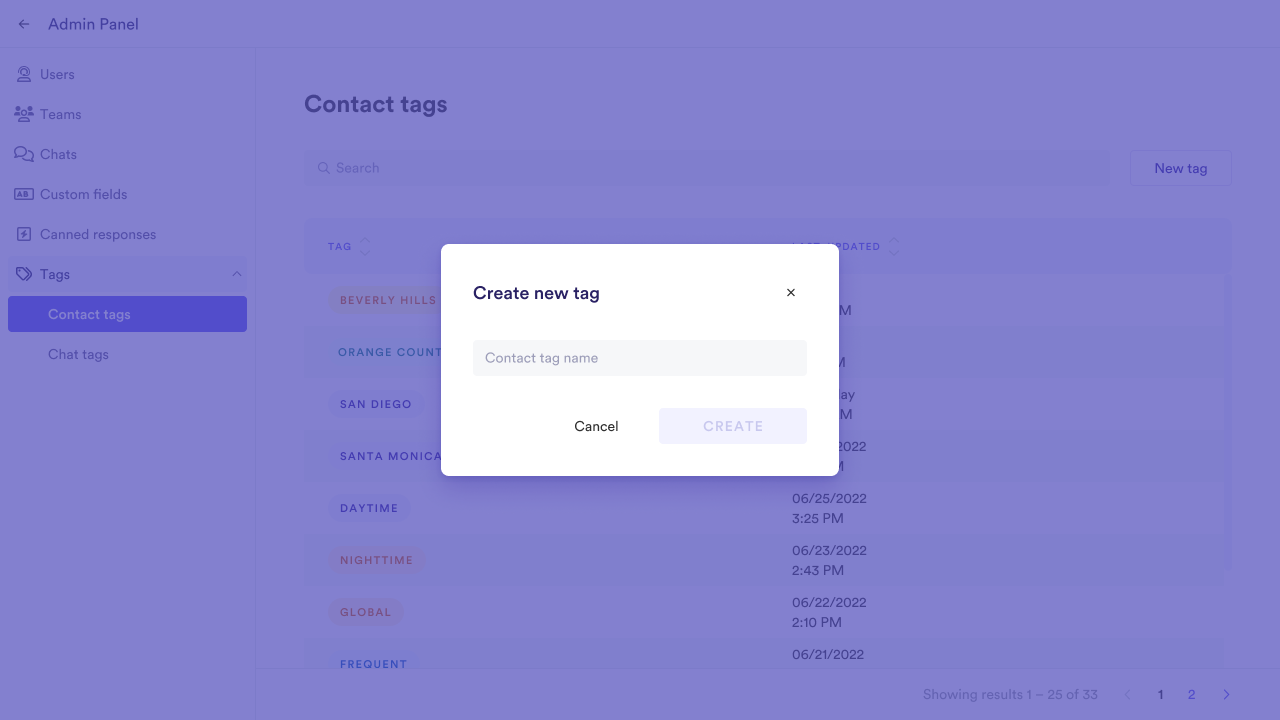
- Click New tag.
- Type a name for the new tag.
- Click Create.
Editing contact tags
To edit an existing tag:
Click the tag in the list, then change its name as needed.
Delete contact tags
To delete a tag:
Hover over the tag in the list, then click the Delete button.
You can also click Delete while editing a tag.
After you delete a tag, users will no longer be able to add it to contacts.
Manage Custom Fields
Supervisors and managers can create custom fields in the customer contact form for agents to fill in customer information as they receive it. This way, agents have better context when dealing with customers and can prioritize tickets based on this information.
To manage custom fields inside the admin panel:
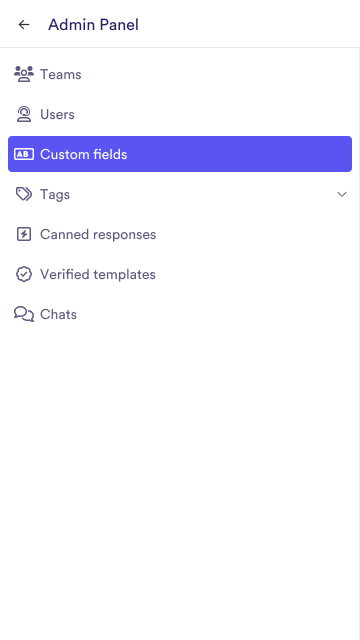
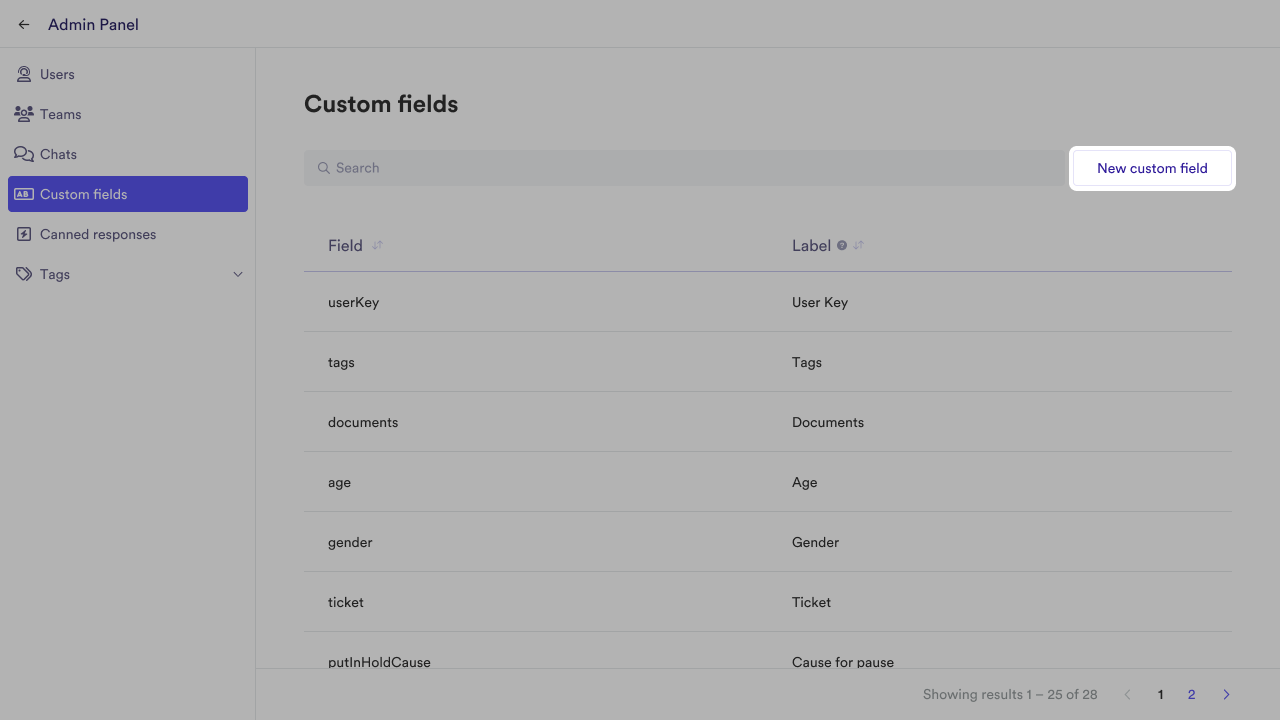
Click Custom fields in the navigation menu.
Viewing and searching custom fields
The list shows custom fields by:
- Their strings (Field name), which are used to reference the custom field in code
- Their labels, which identify them for users in forms.
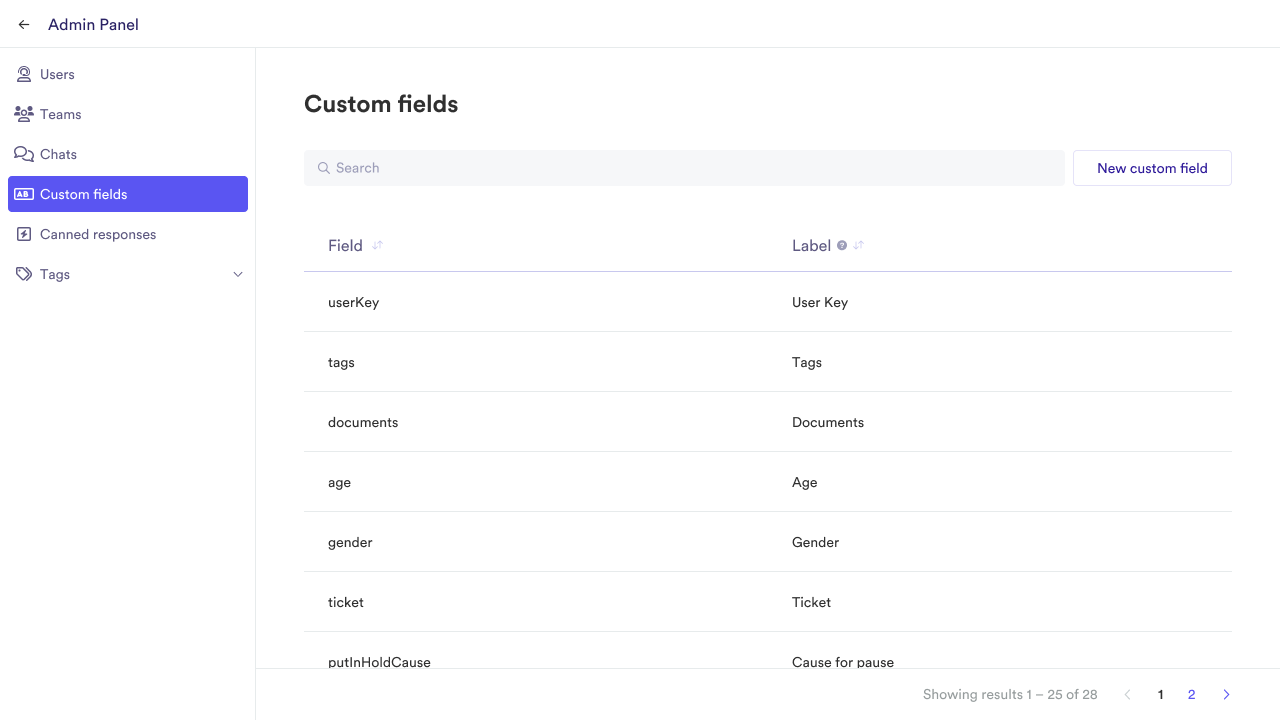
You can use the search bar to look for custom fields by string (Field name).
Creating new custom fields
To create a new custom field
- Click New custom field.
- Define the Field name. Keep in mind it can't contain spaces or special characters such as _ or *.
- Define the Label for the custom field. It should be short and familiar for your agents to understand.
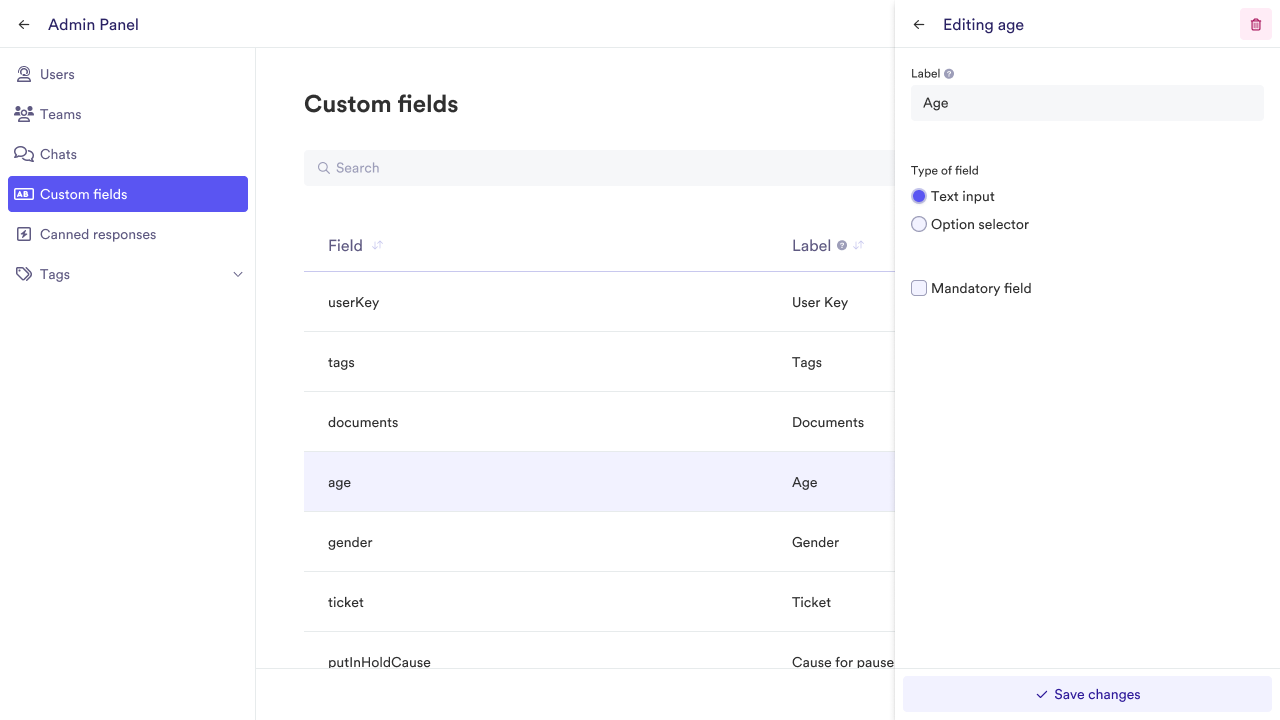
- Choose whether the field will be a text input or a selector. If it is a text input, users will be able to type whatever value they want in it. If it is a selector, you must define which options users can choose from.
- If you picked the Selector option, an input will appear for you to define the options for users to choose from. Separate them with the Enter key.
- Tick the checkbox if you want the field to be mandatory. Otherwise, it will be optional.
- Click Create to finish.
Editing custom fields
To edit an existing custom field:
- Select the custom field in the list.
- Change the details as needed.
- Click Save changes when you're done.
Deleting custom fields
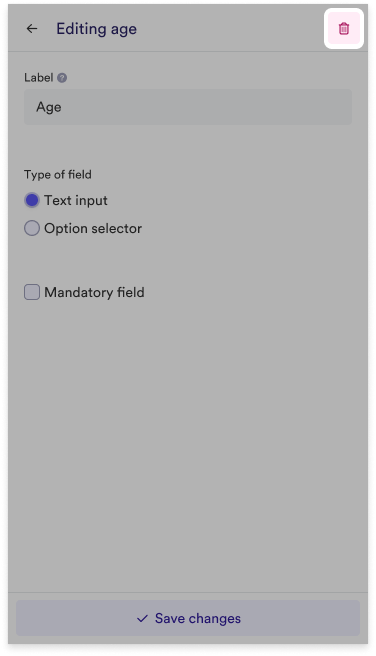
You can delete custom fields. To do this:
Click the Delete button.
Manage Chat Tags
You can create various tags to track and classify your conversations. Managers and supervisors can define which tags their teams can use to categorize assistance. Using tags also helps make analyses and identify trends in conversations.
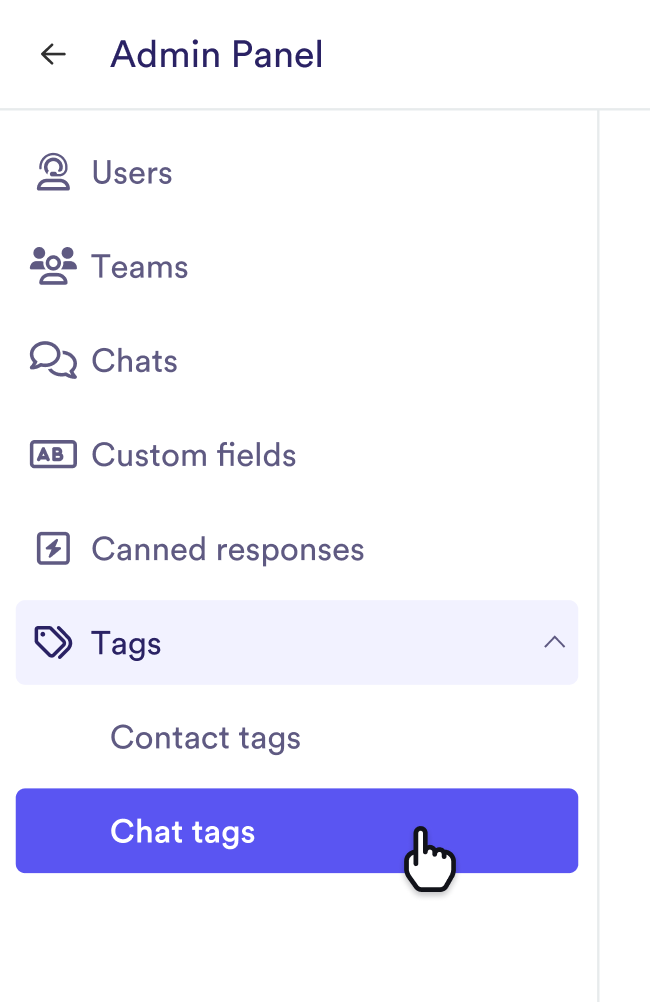
To manage chat tags inside the admin panel:
Click Tags in the navigation menu, then select Chat tags.
Viewing and searching chat tags
The list shows chat tags by name, the time they were last updated, and the teams that are allowed to assign them to chats.
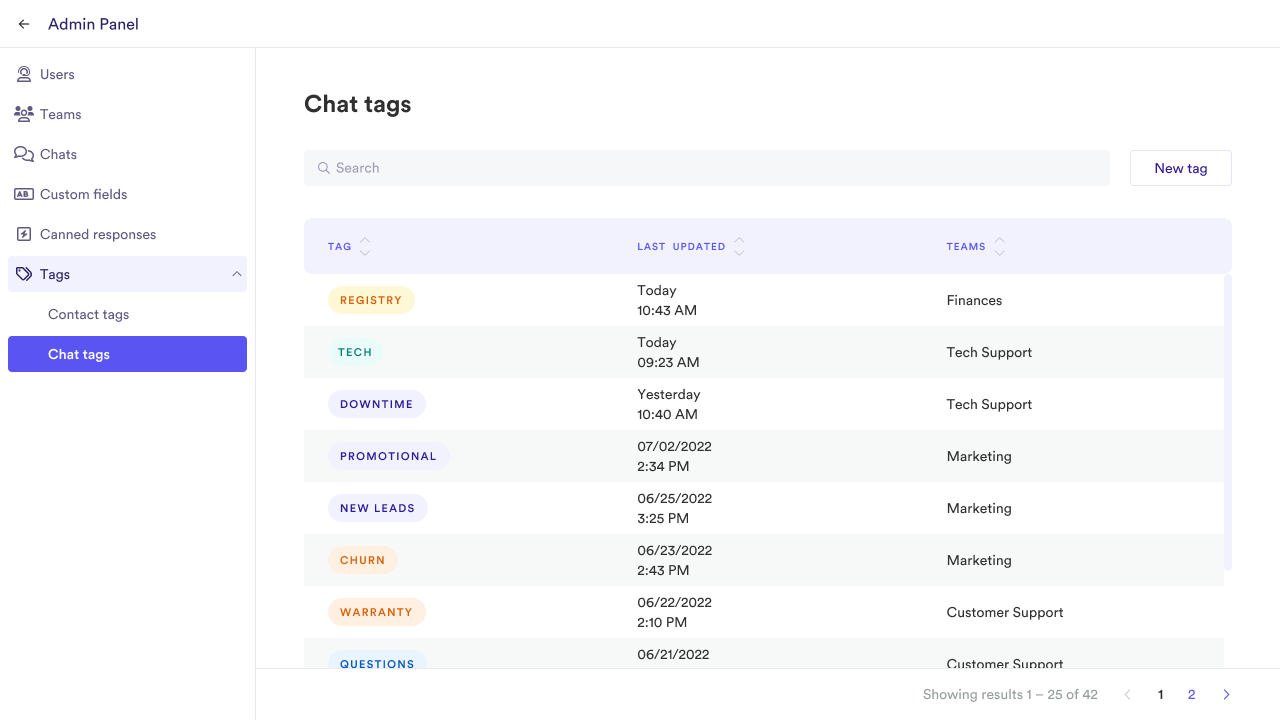
You can use the search bar to search for tags by name.
Creating new chat tags
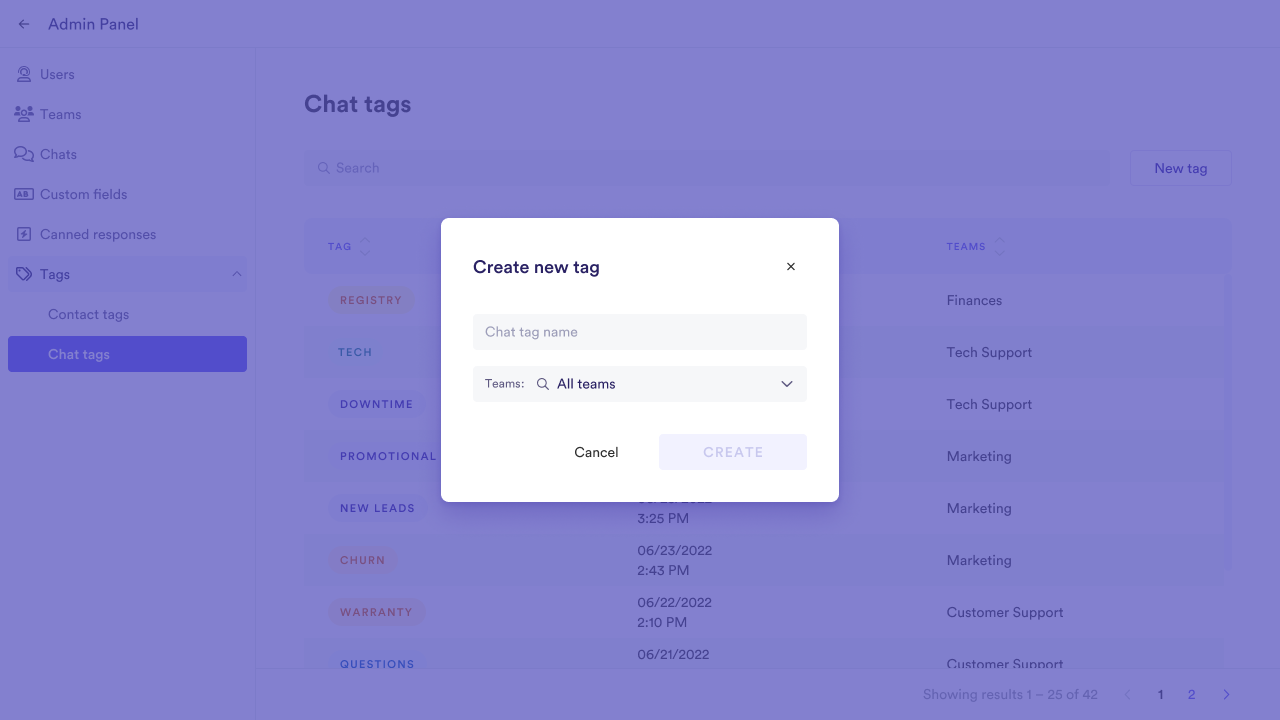
To create a new tag:
- Click New tag.
- Type a name for the new tag.
- Select the teams allowed to use the tag.
- Click Create.
Editing chat tags
To edit an existing tag:
Click the tag in the list, then change its name as needed.
Delete contact tags
To delete a tag:
Hover over the tag in the list, then click the Delete button.
You can also click Delete while editing a tag.
After you delete a tag, users will no longer be able to add it to chats.
Manage quick messages
You can provide standardized messages for your agents to use in chats and respond consistently to common situations.
To manage quick messages inside the admin panel:
Click Quick Messages in the navigation menu.
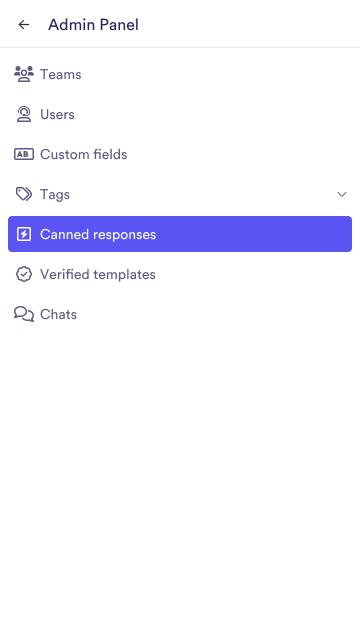
Viewing and searching quick messages
The list shows quick messages by:
- Shortcut
- The tags the system assigns to chats when they're sent
- Who can use them
- Who created them
- The time they were last updated.
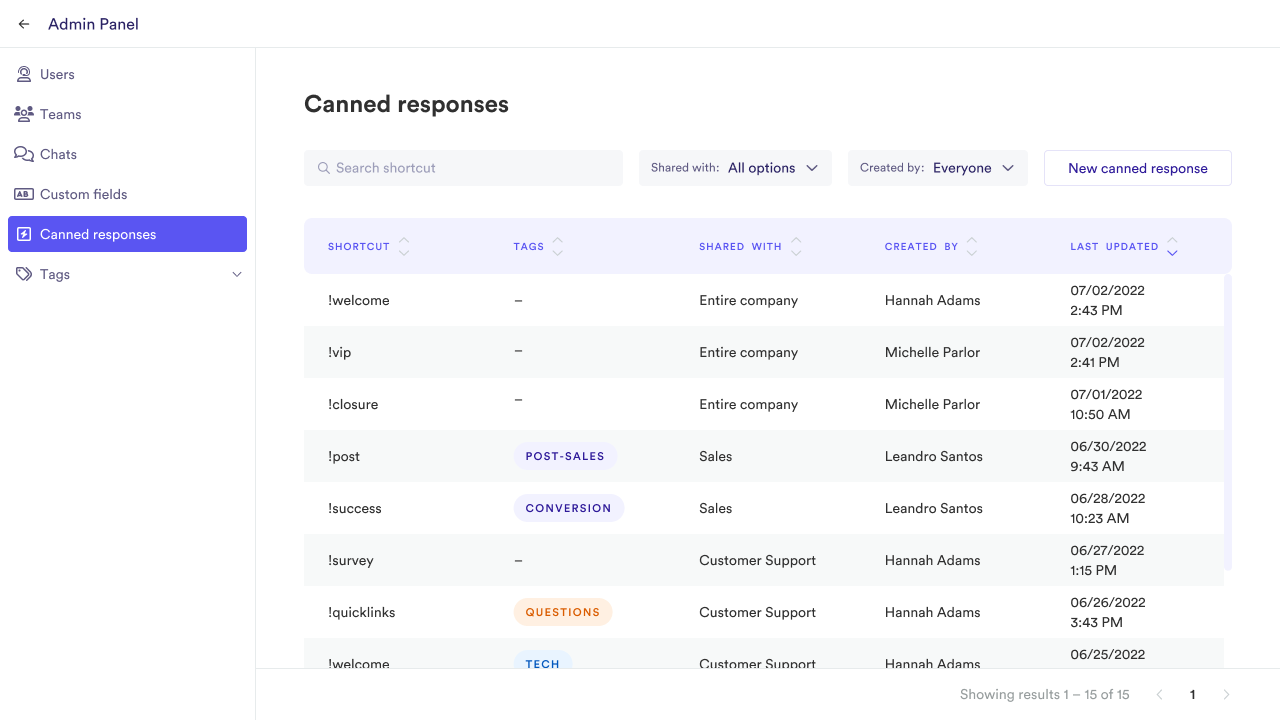
You can use the search bar to search for canned responses by shortcut, as well as the filters for who can use them and who created them.
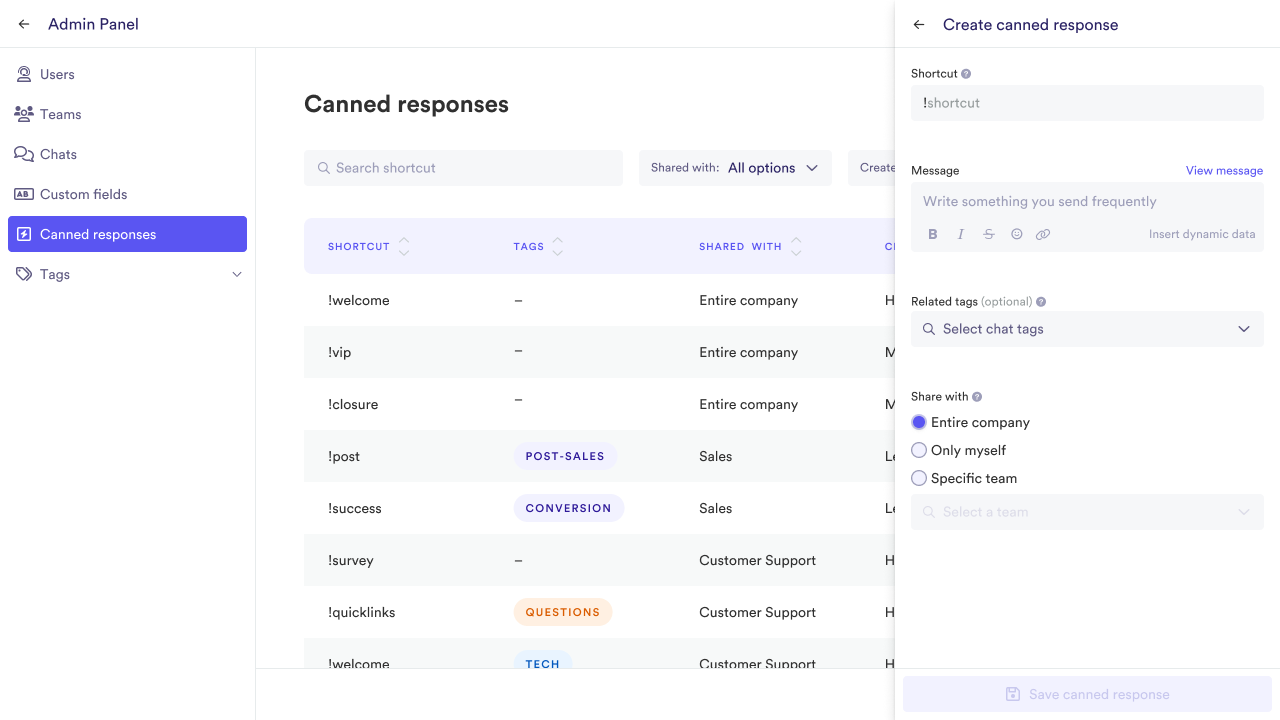
Creating new quick messages
To create a new quick message:
- Click New quick message.
- Type a shortcut for the new quick message.
- Write the message to be used. You can ensure that each response is customized with the customer name, email, phone, agent's name, and email, using dynamic content placeholders.
- Optionally, select chat tags you want the system to assign to quick messages making it easier to use the agent.
- Define who can use the message: the entire company, only you or a specific team.
- Click Save to confirm.
Editing quick messages
To edit an existing quick message:
Click the quick message in the list, then change its details as needed.
Delete quick messages
To delete a quick message:
Hover over the quick message in the list, then click the Delete button.
You can also click Delete while editing a quick message.
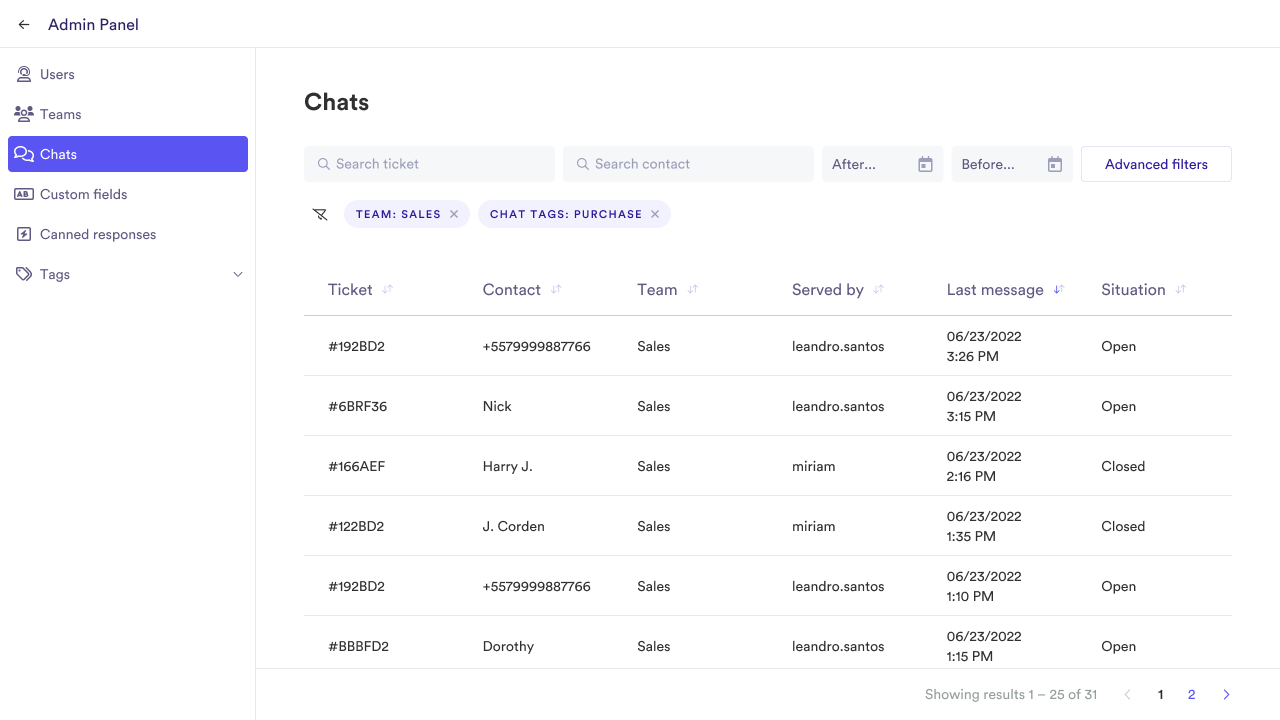
Manage Chats
You can view and access all chats that are happening or have happened through Sales Desk inside the admin panel. To do this:
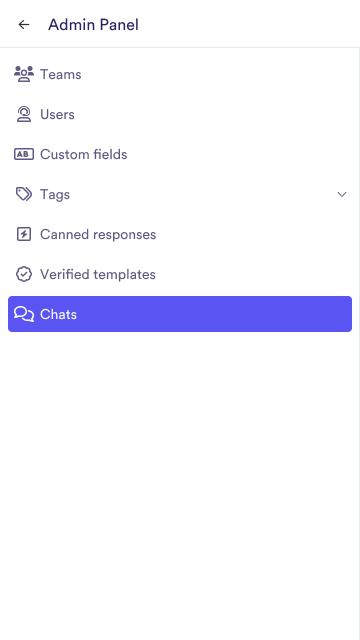
Click Chats in the navigation menu.
Viewing and searching chats
The list shows chats by:
- Their ticket number
- Their corresponding contact
- The team they were last assigned to
- The last agent serving them
- The date and time of the last messages sent or received in the chats
- Their situation, e.g. if they're open or closed.
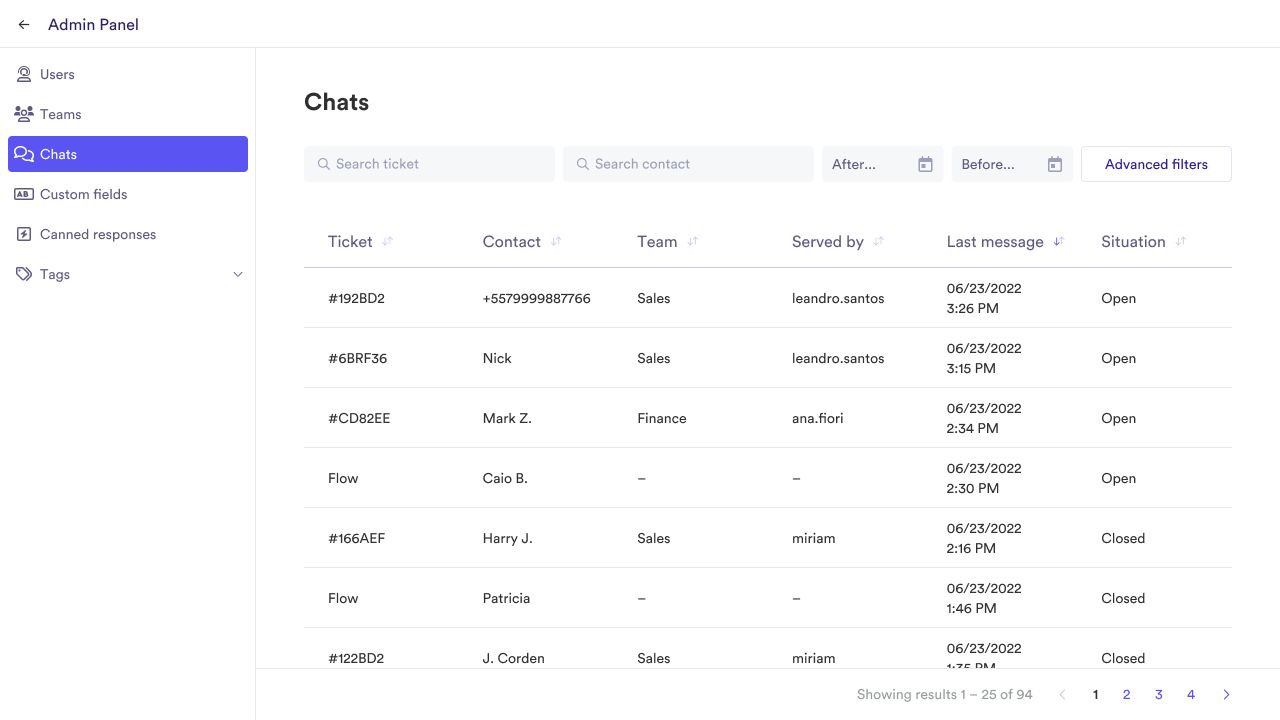
There are four basic search prompts you can use to filter the chats that appear on the list:
- Search by ticket
- Search by contact
- Show chats after a specific date
- Show chats before a specific date.
To filter by other criteria:
Click Advanced filters.
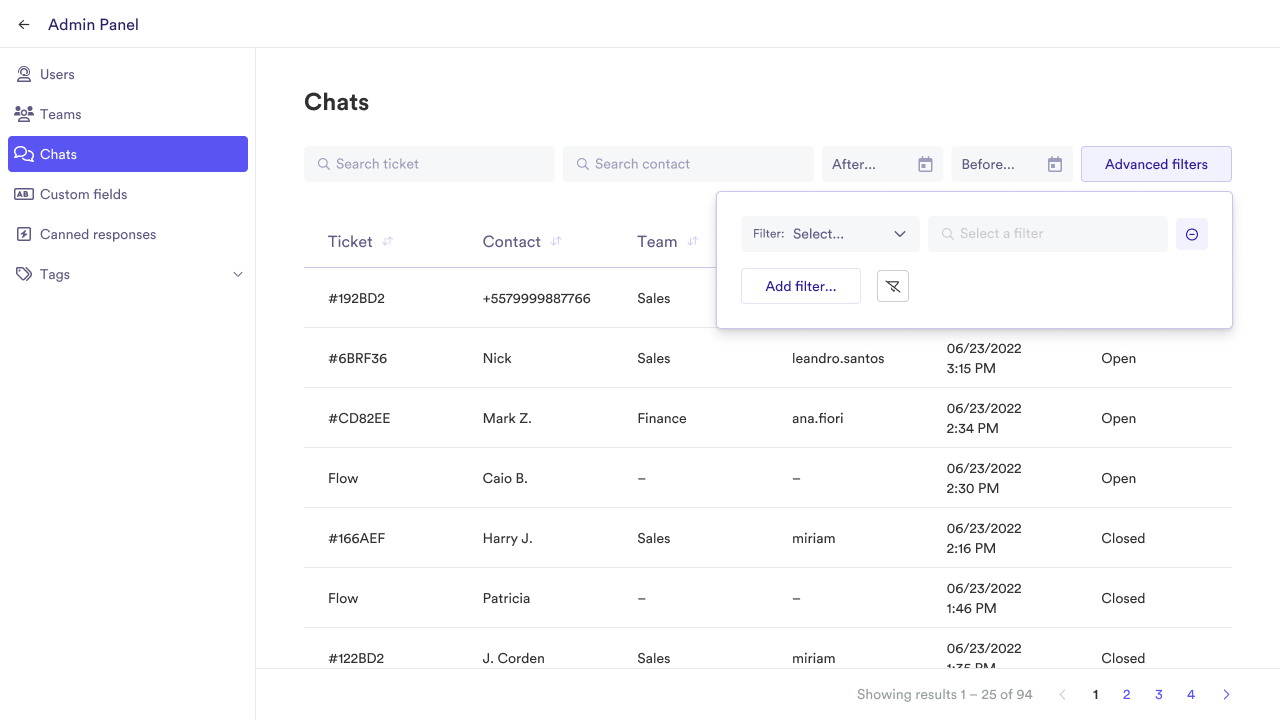
Select a filter you wish to apply. The options available will vary according to your organization's settings.
Fill the input or select a value according to the type of filter you selected.
You may add as many filters as you like.
Previewing a chat
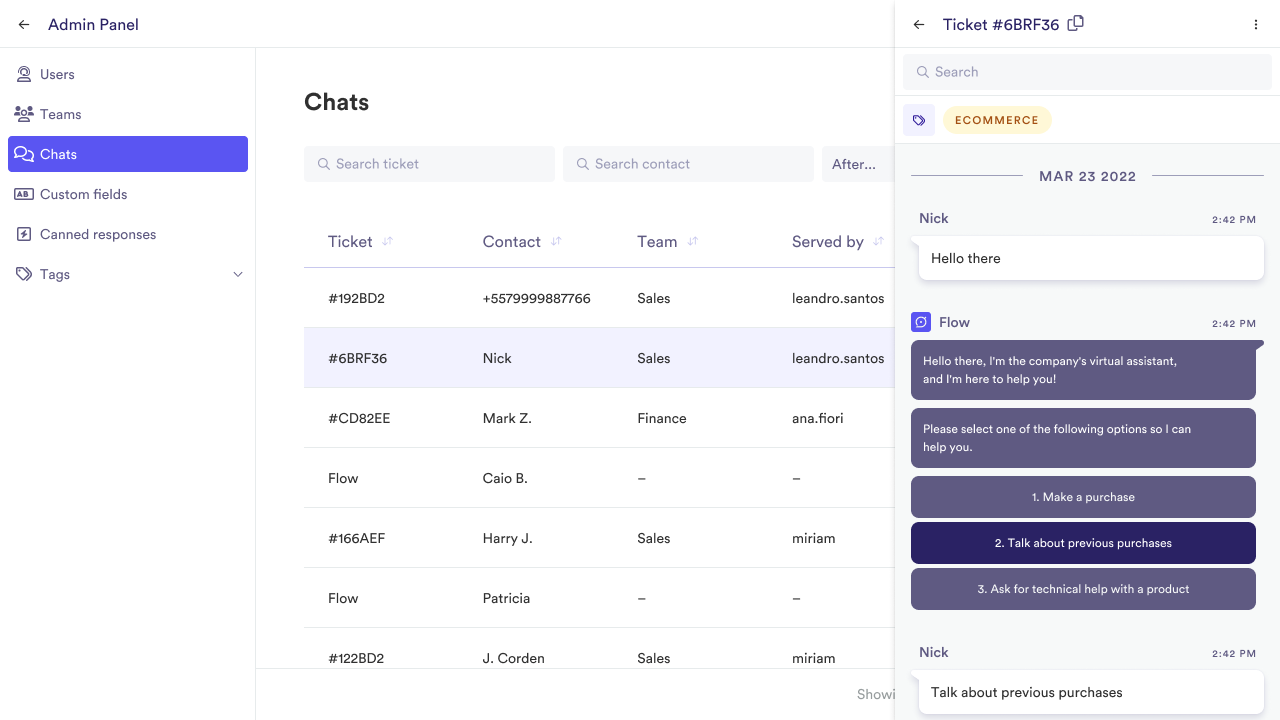
You can click any chat on the list to preview it. It is possible to see everything happening at the moment, look at details such as who the conversation is served by, which messages the customer sent, expand if it is a completed conversation, or view its position in the queue if it is a conversation in progress.
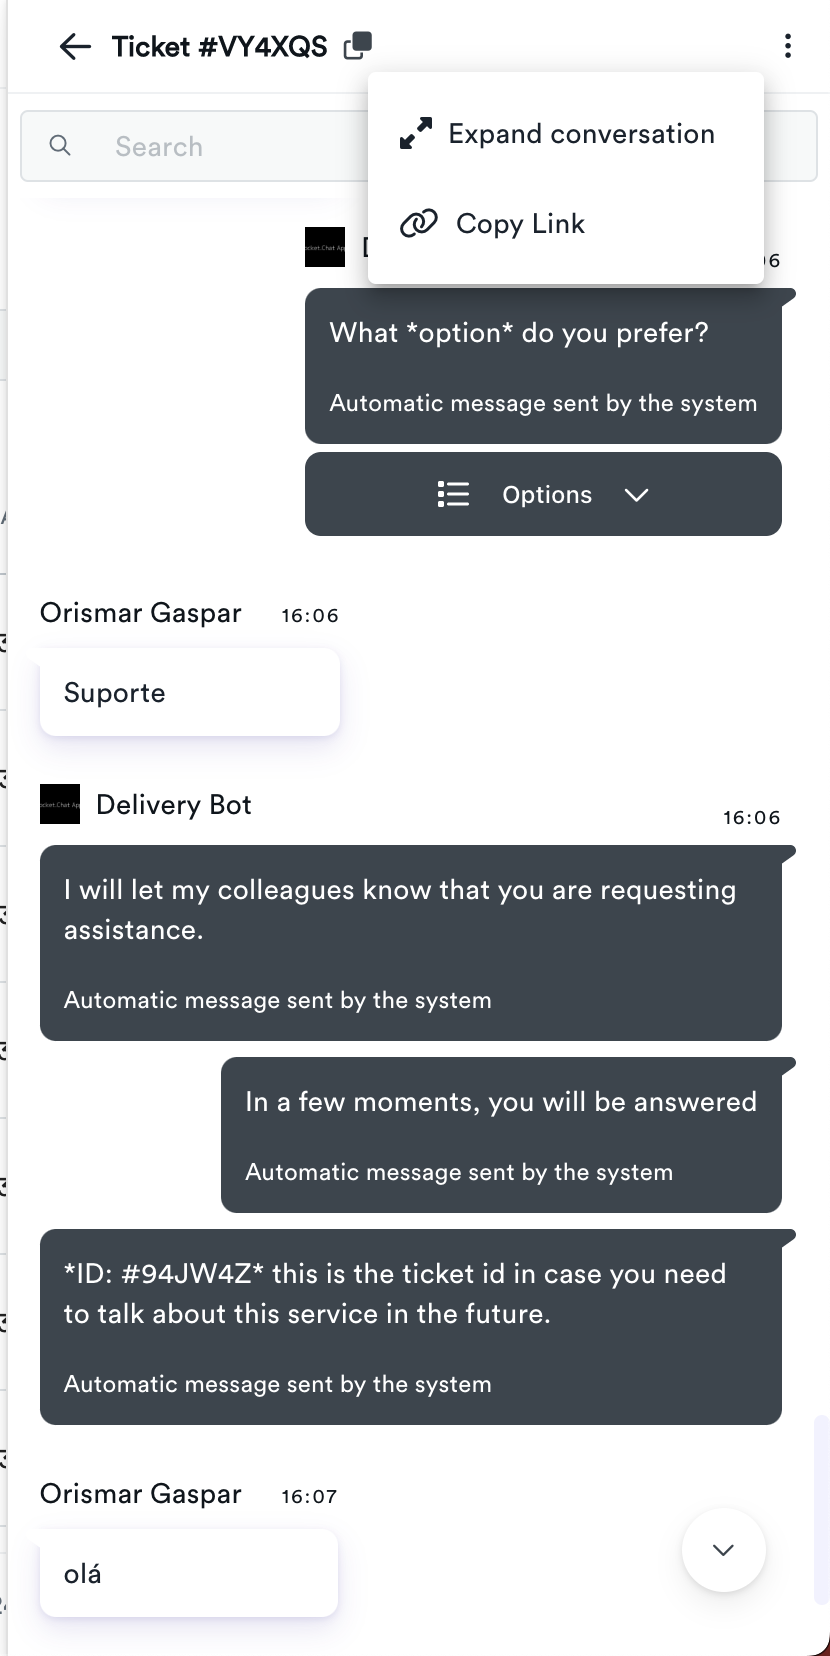
The menu on the top right corner of the preview allows the following actions:
- Expanding the chat to view it in full mode, which allows you to view an ongoing chat if it's still open
- Copying the link.
Business Hours
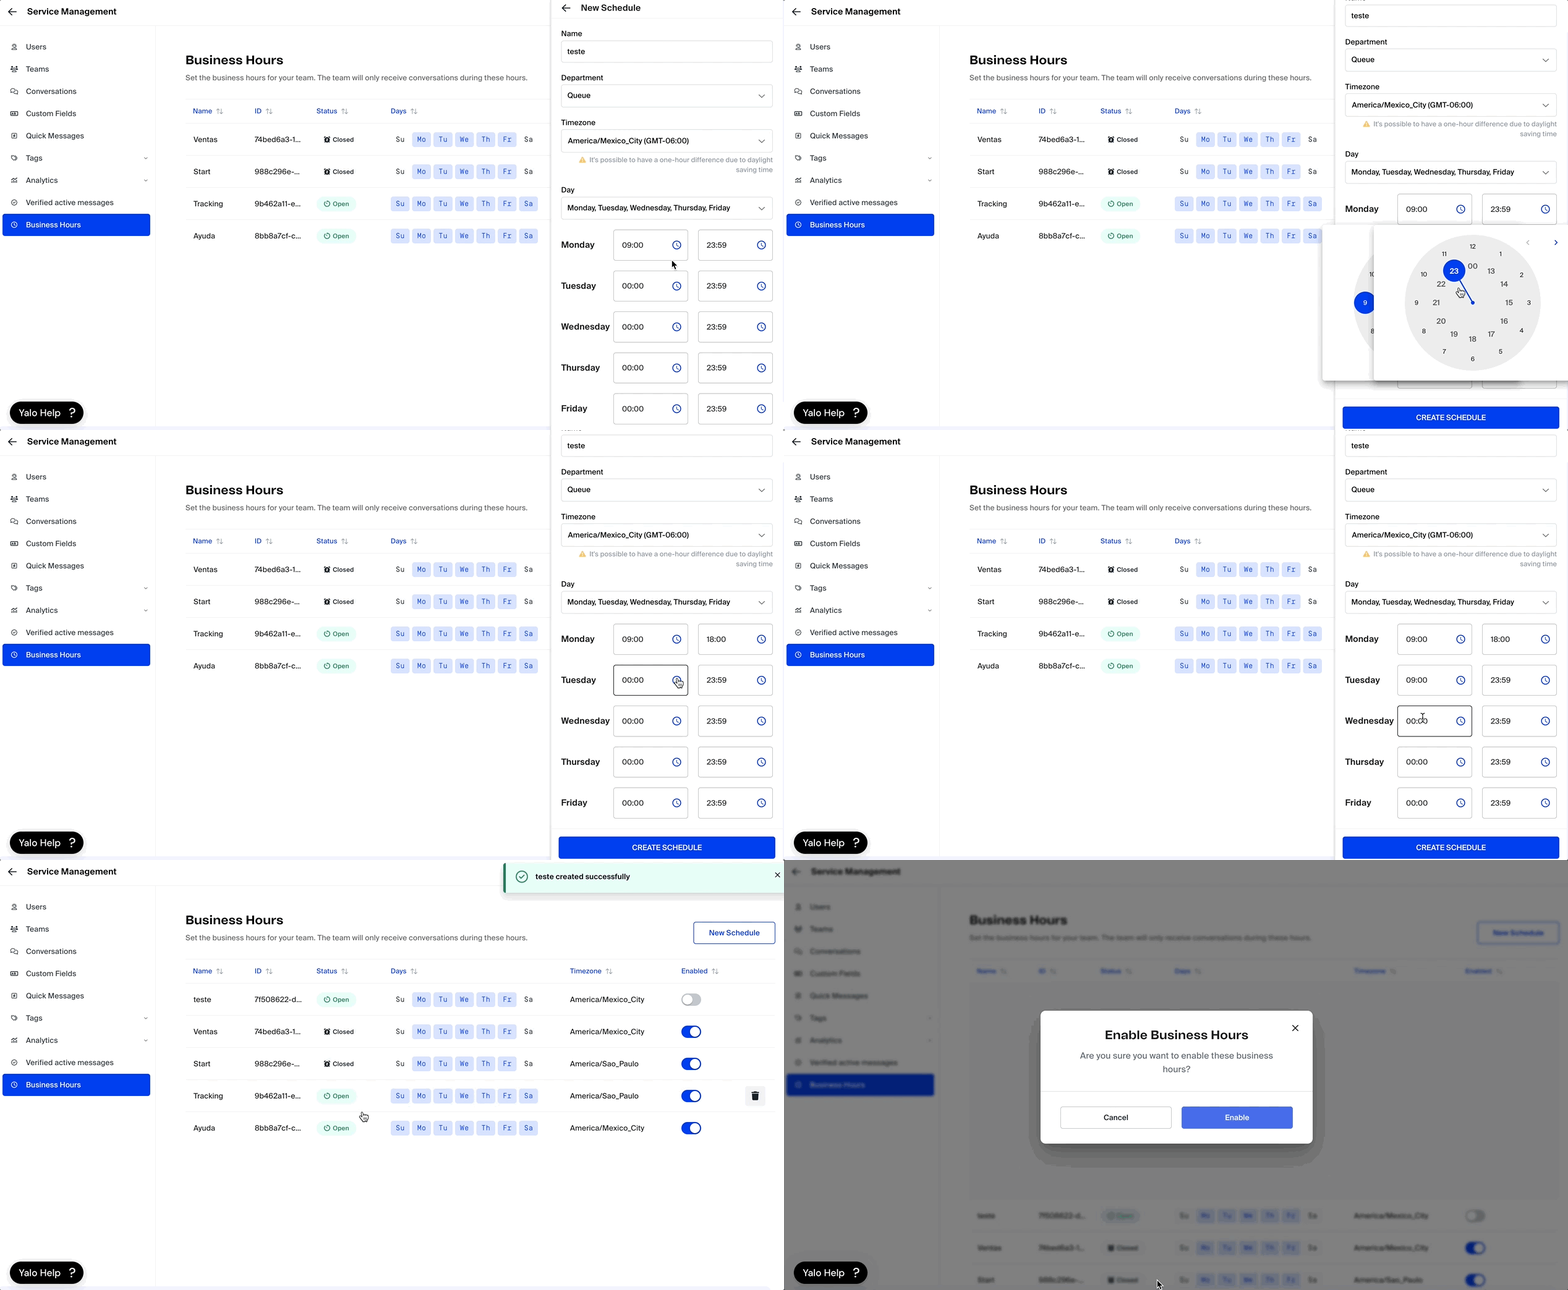
1. Creating a New Business Hour
-
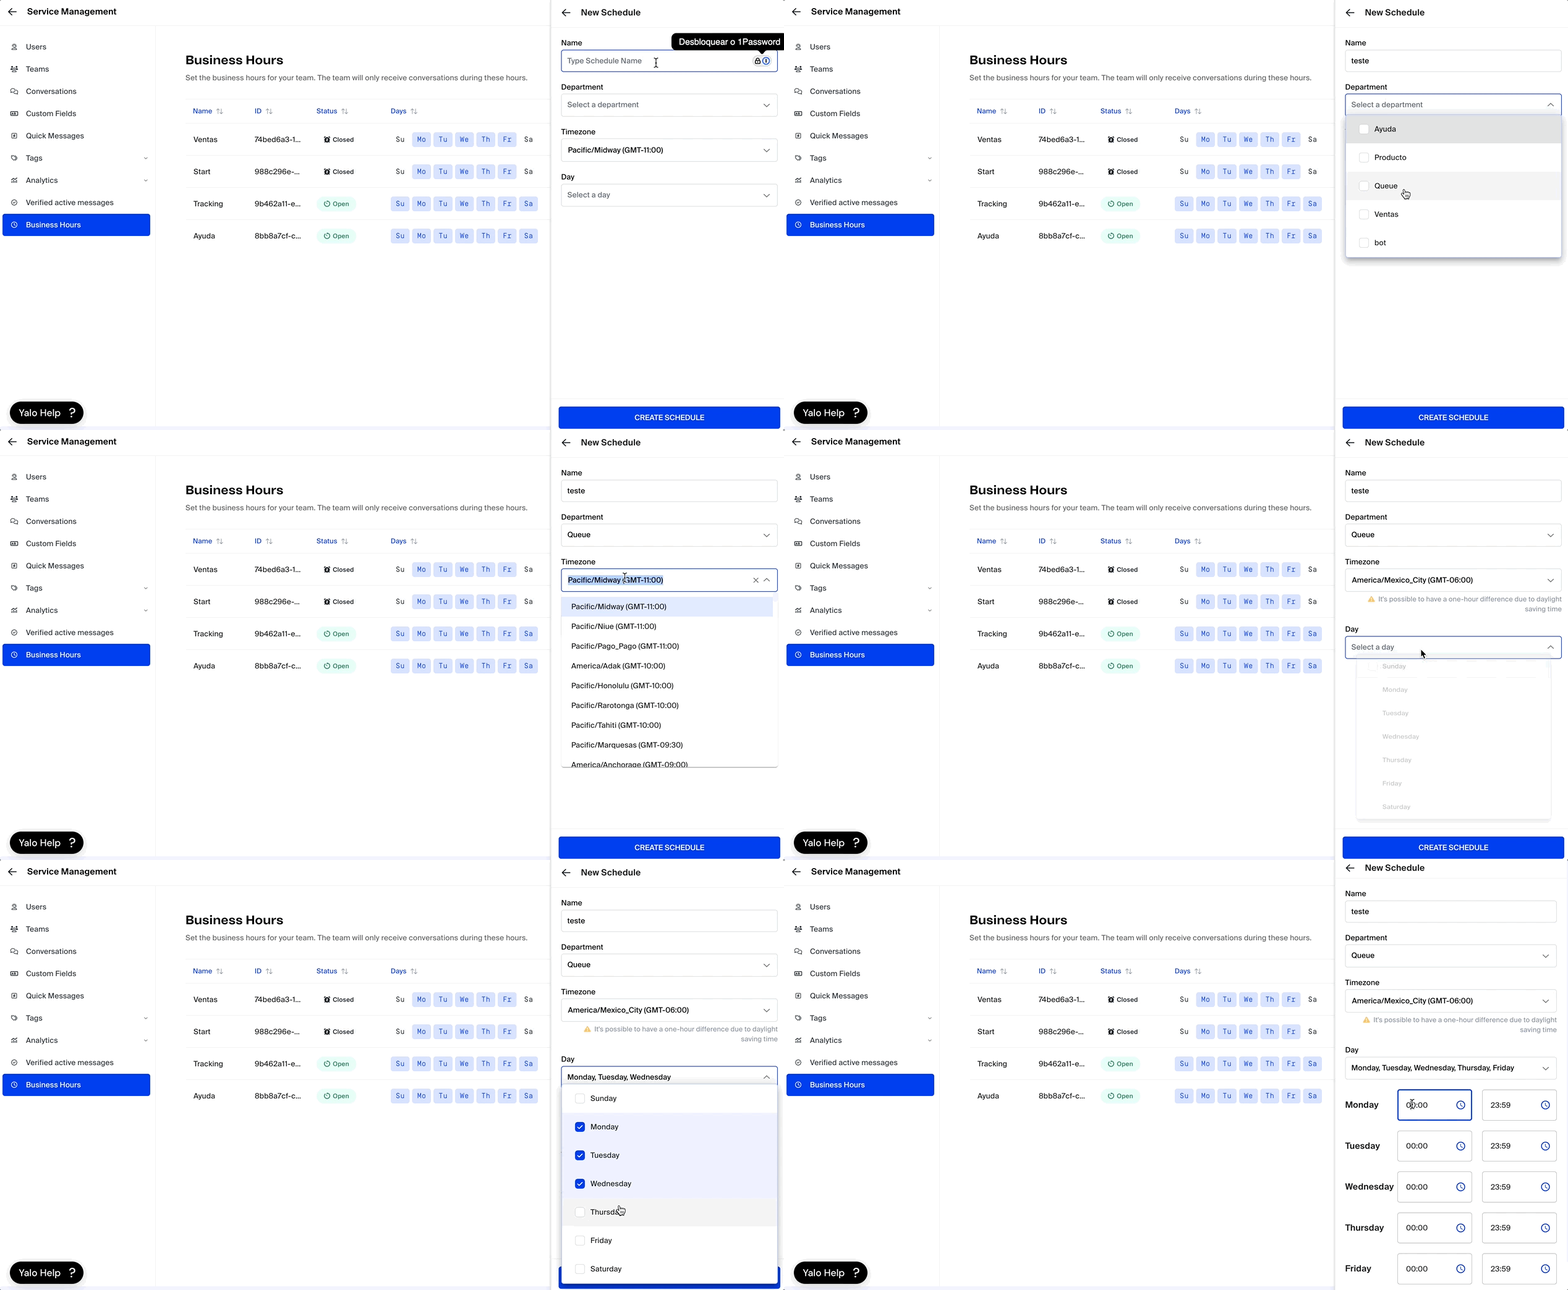
Create New Business Hour:
- Click on "New" to start configuring a new business hour.
-
Define Business Hour Details:
- Name: Enter a name for the business hour.
- Team/Department: Select the team or department that this business hour will apply to.
- Timezone: Set the appropriate timezone.
- Days and Hours: Choose the days of the week and set specific hours for each selected day.
-
Save Configuration:
- After entering all details, save the configuration to create the new business hour.
2. Viewing and Managing Business Hours
-
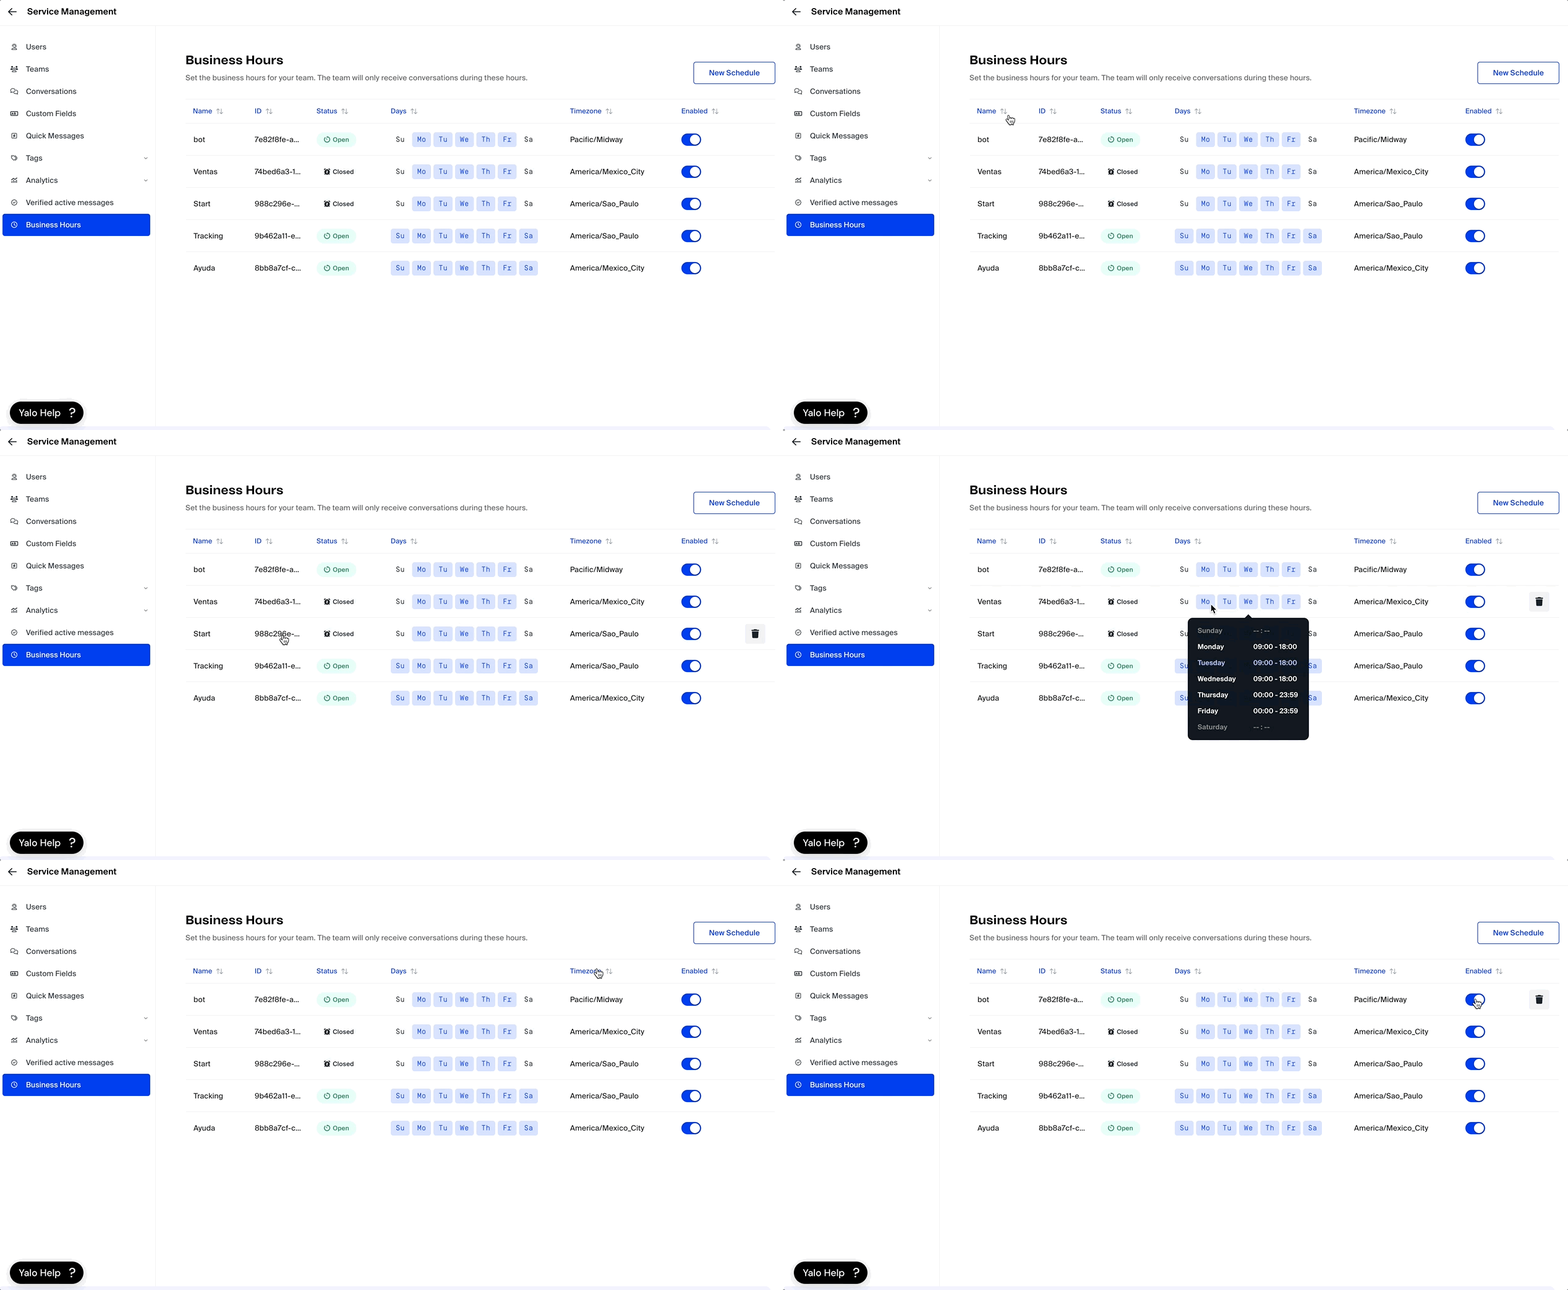
List of Configured Business Hours:
-
The interface will display a list of all configured business hours, including:
- Name
- ID
- Status (Open or Closed)
- Days and operating hours
- Configured timezone
- Active or Inactive
-
-
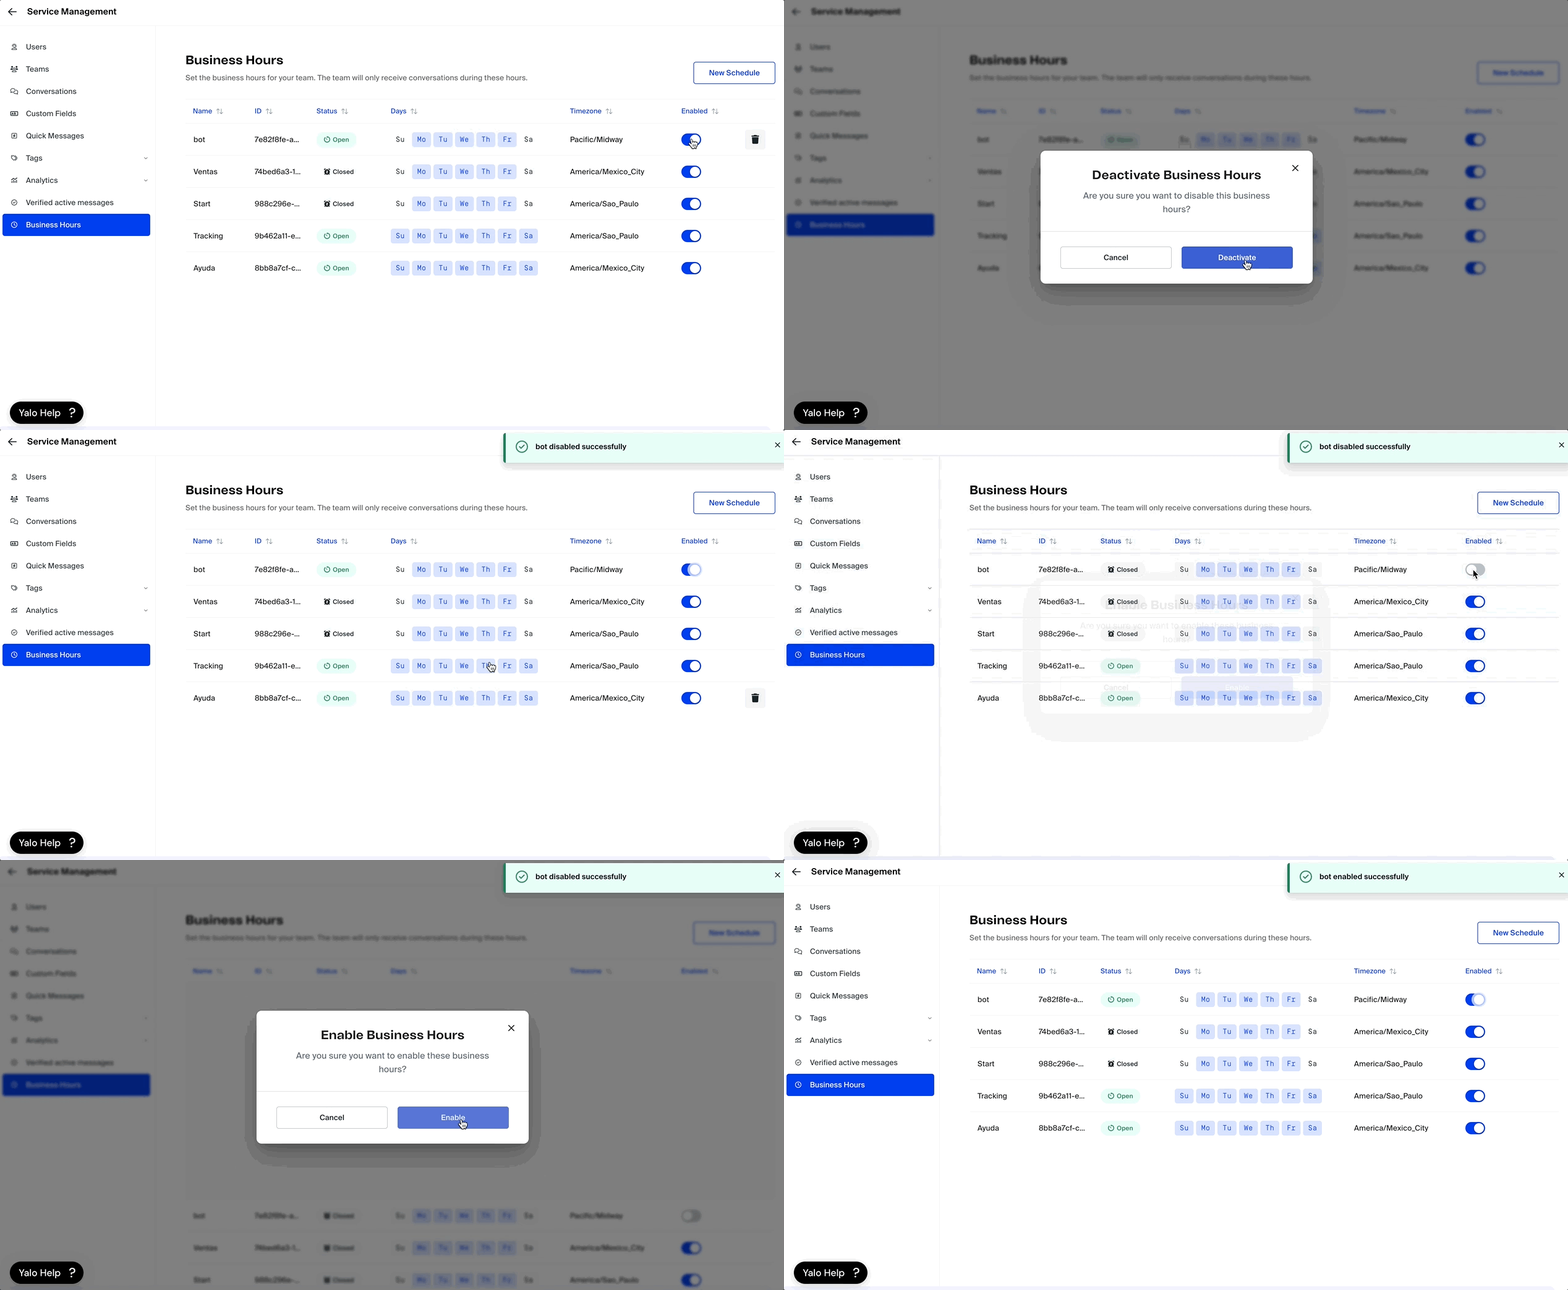
Deactivate and Enable a Business Hour:
-
To deactivate or enable, just click on the toggle next to the desired business hour and confirm the process:
-
-
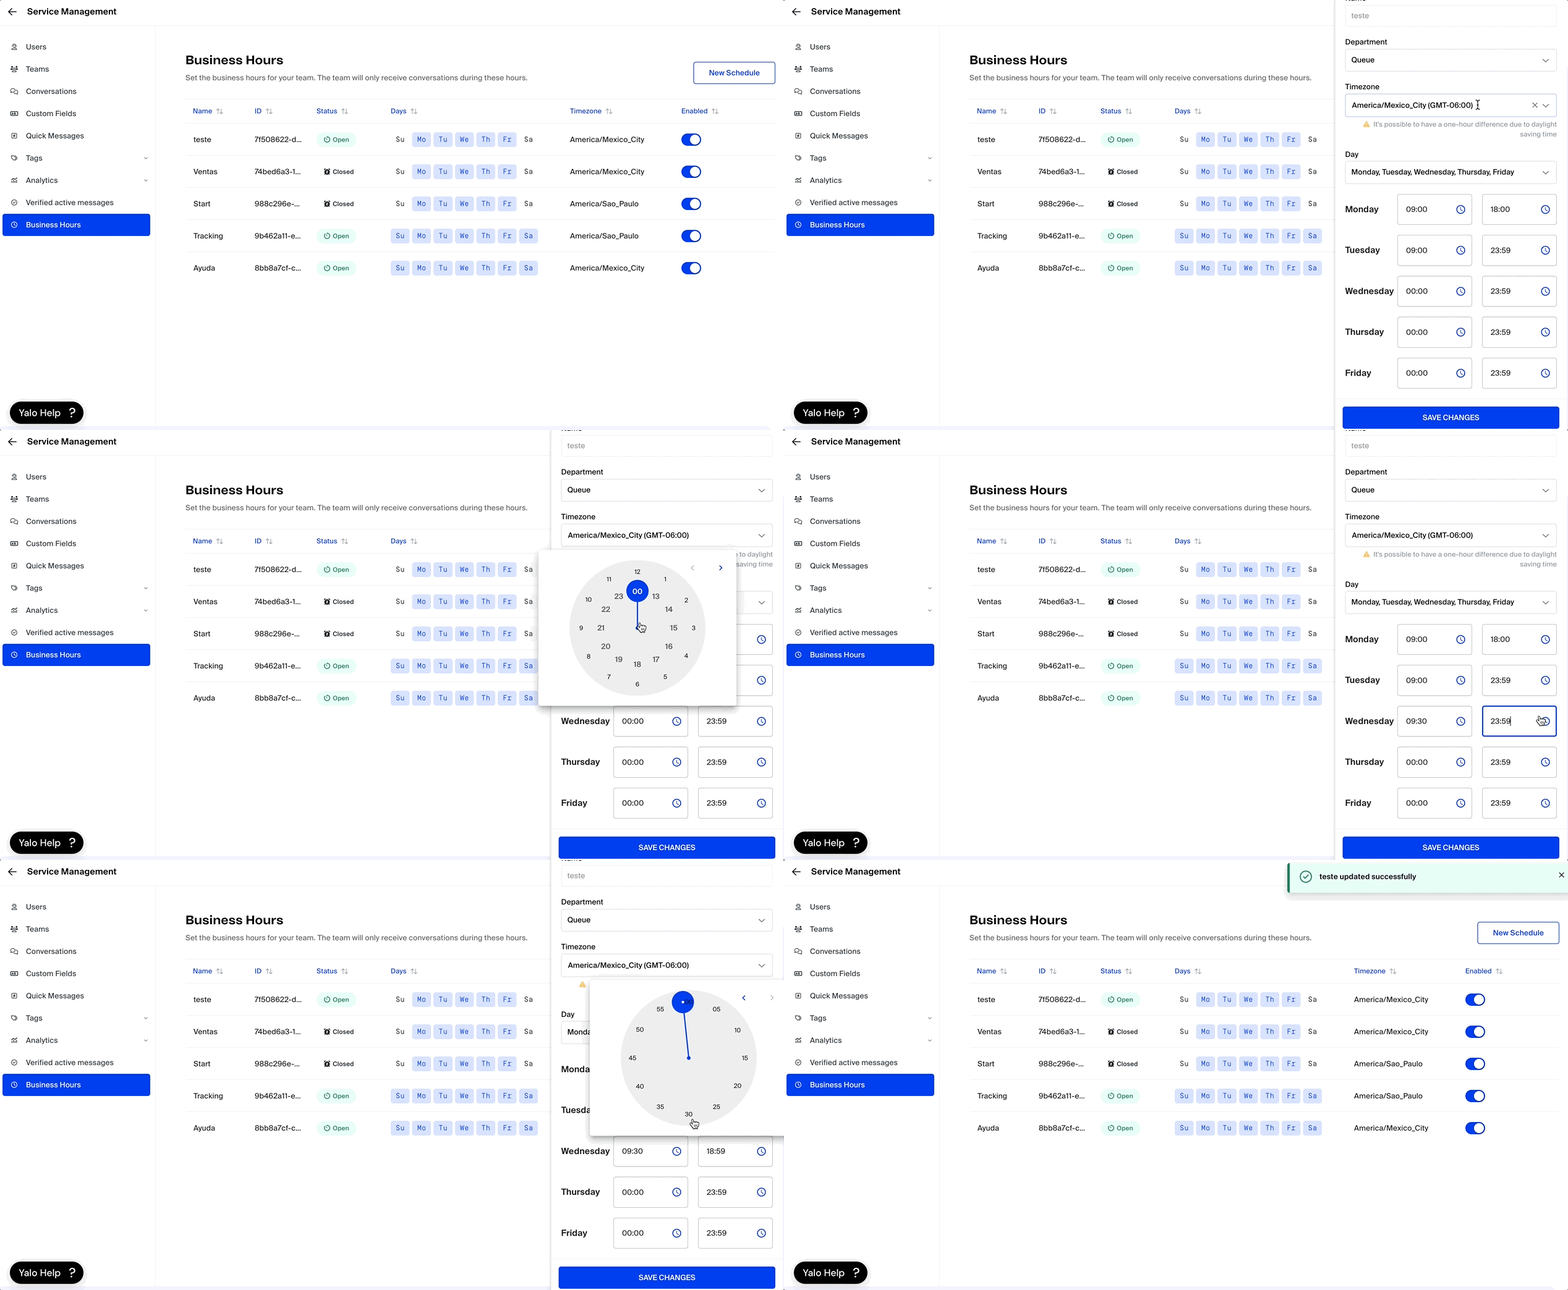
Edit a Business Hour:
-
To edit, click on the business hour you wish to modify in the list, and a sidebar menu will open for editing the business hour details.
-
By following these steps, you will ensure that your agents are available to assist customers only during the configured business hours, optimizing operational efficiency.
Updated 17 days ago
