Generic API connector
This guide outlines the steps required to set up a new integration on the Yalo platform using the Generic API connector. The aim is to help you map the fields of your API and connect them to our solution efficiently.
Accessing the Platform
Log in to the Yalo platform using your username and password.
Commerce tab
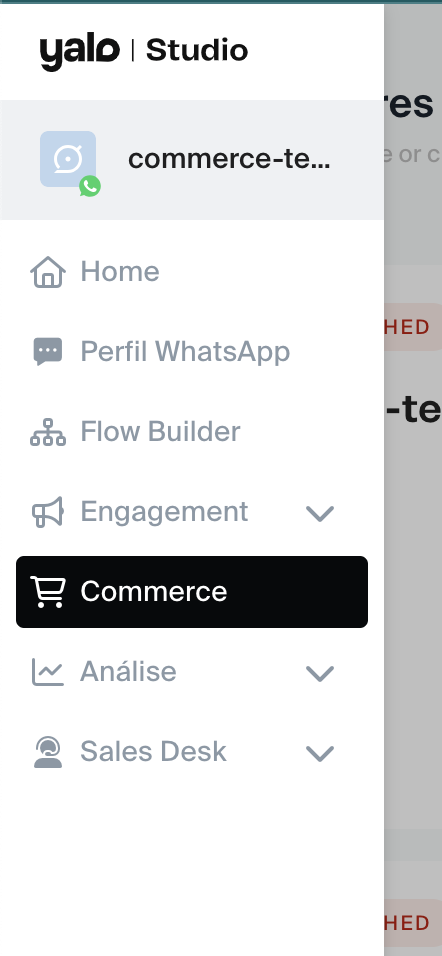
Select the "Commerce" option from the menu.
Store Selection
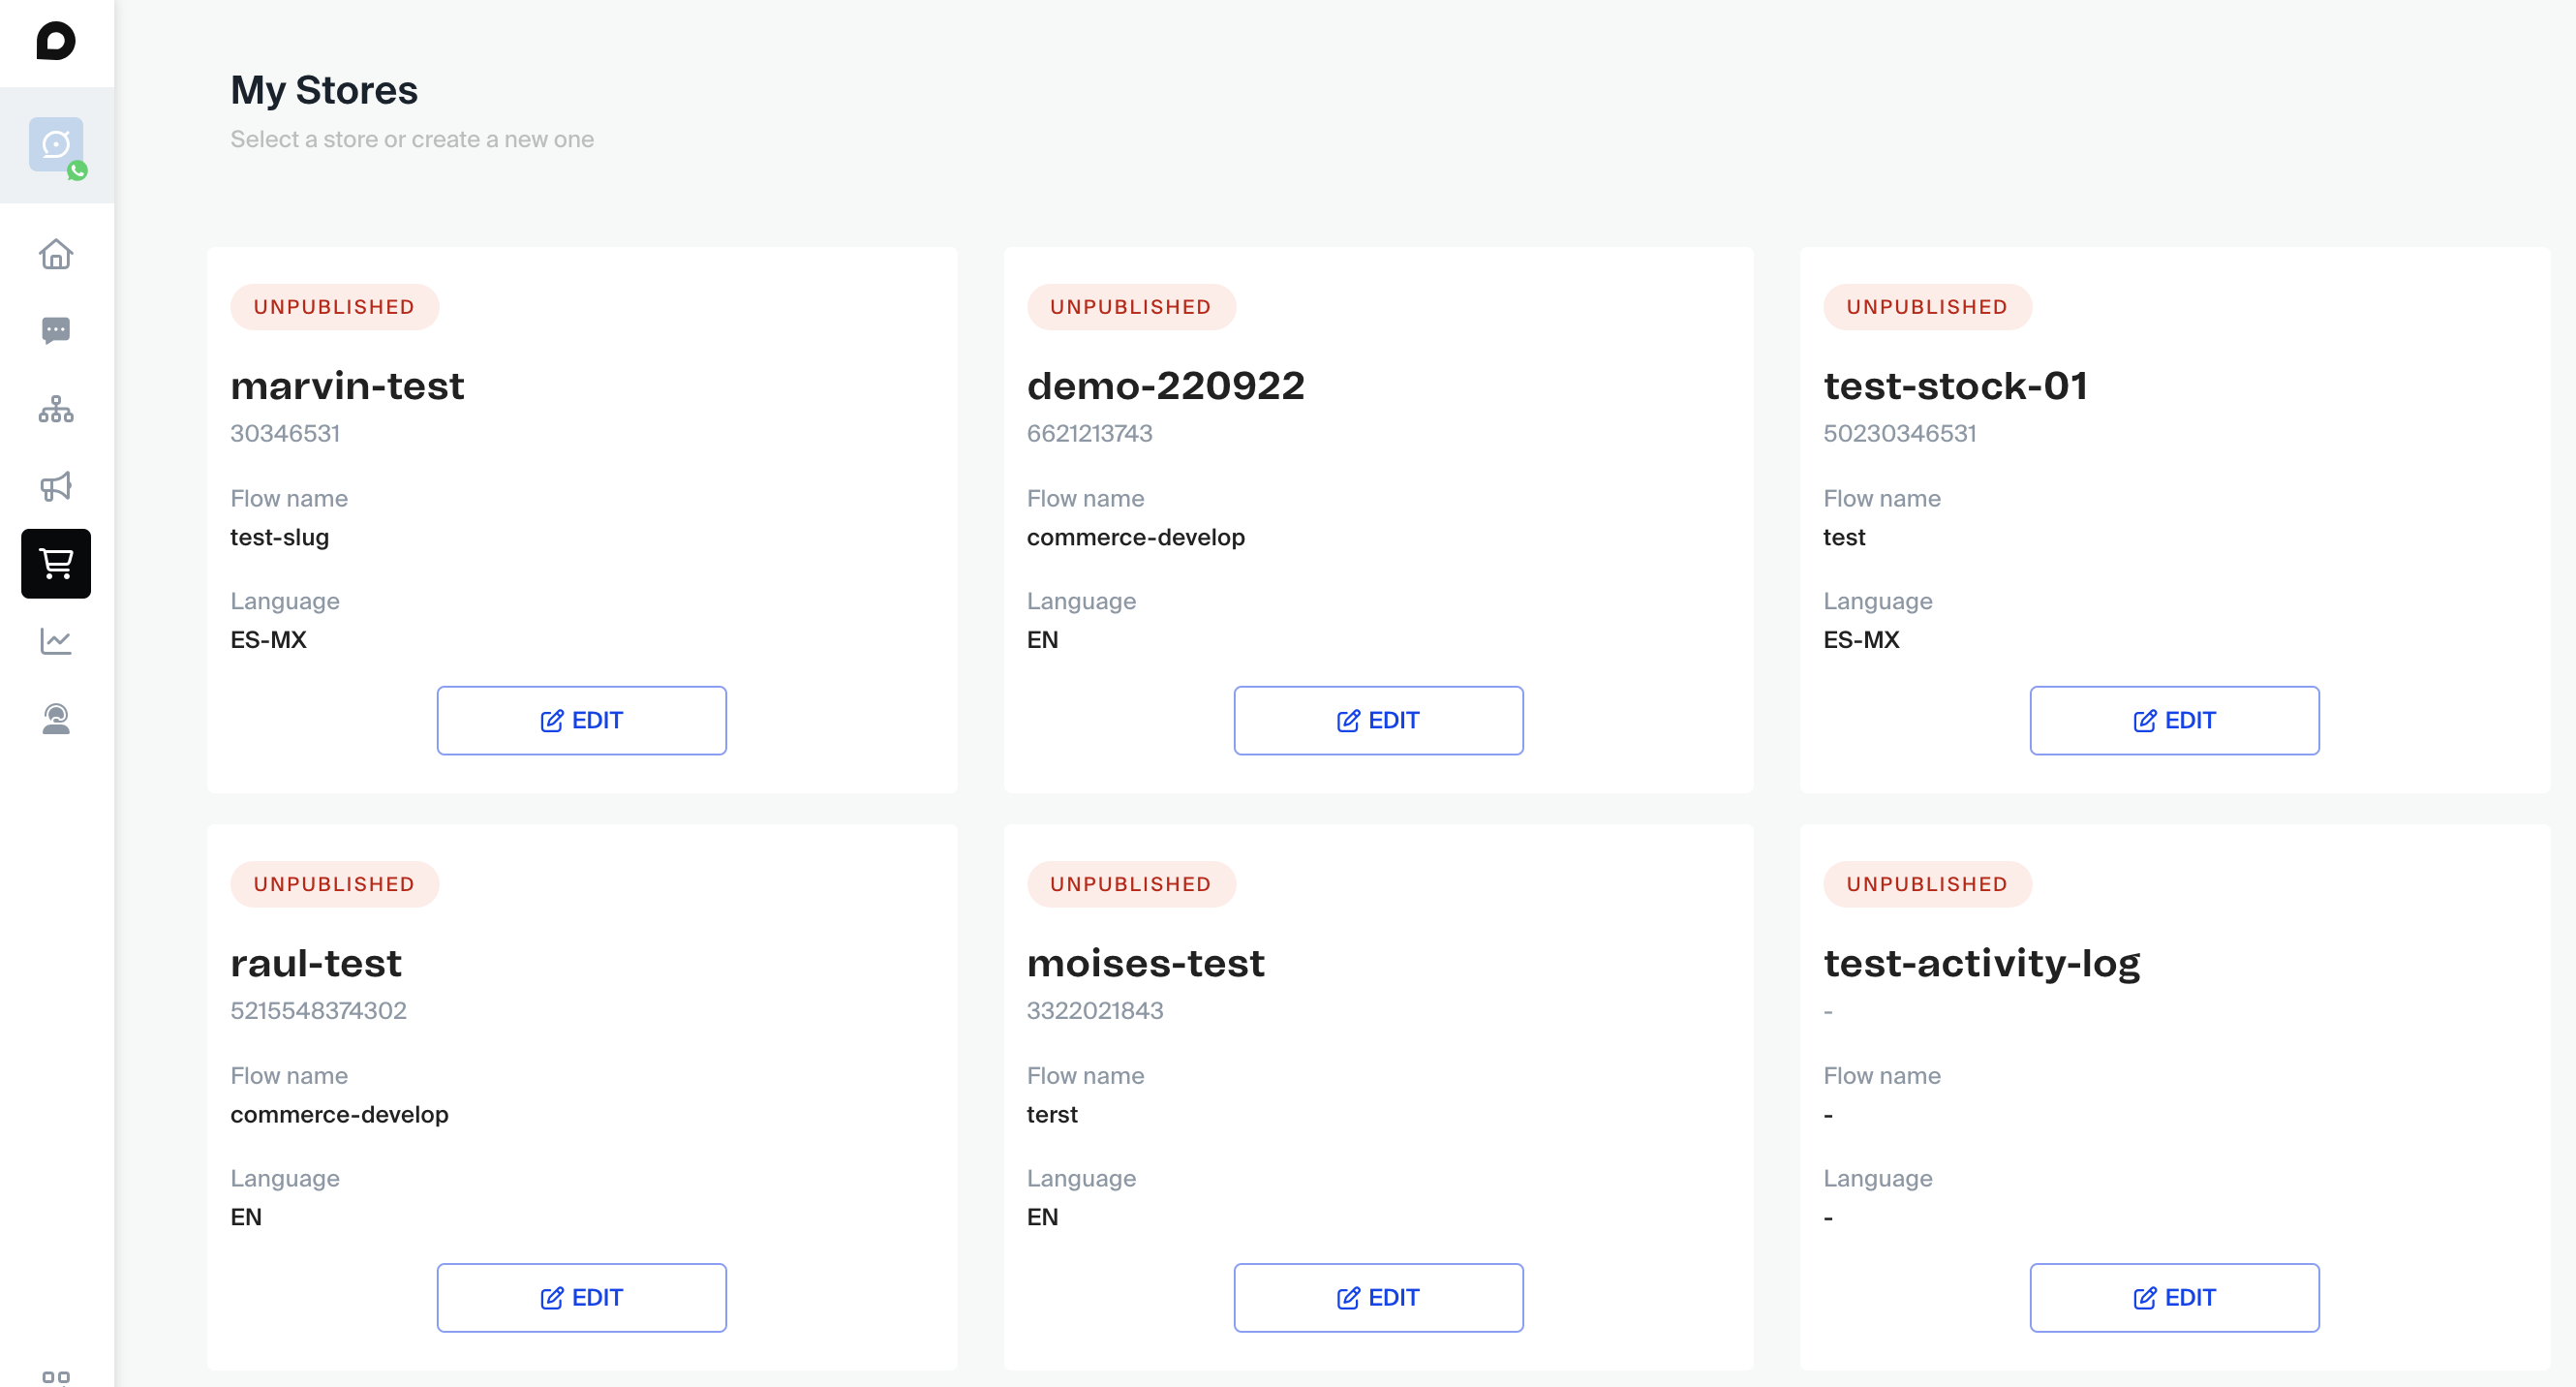
Choose the store for which you wish to set up a new integration, and click in edit.
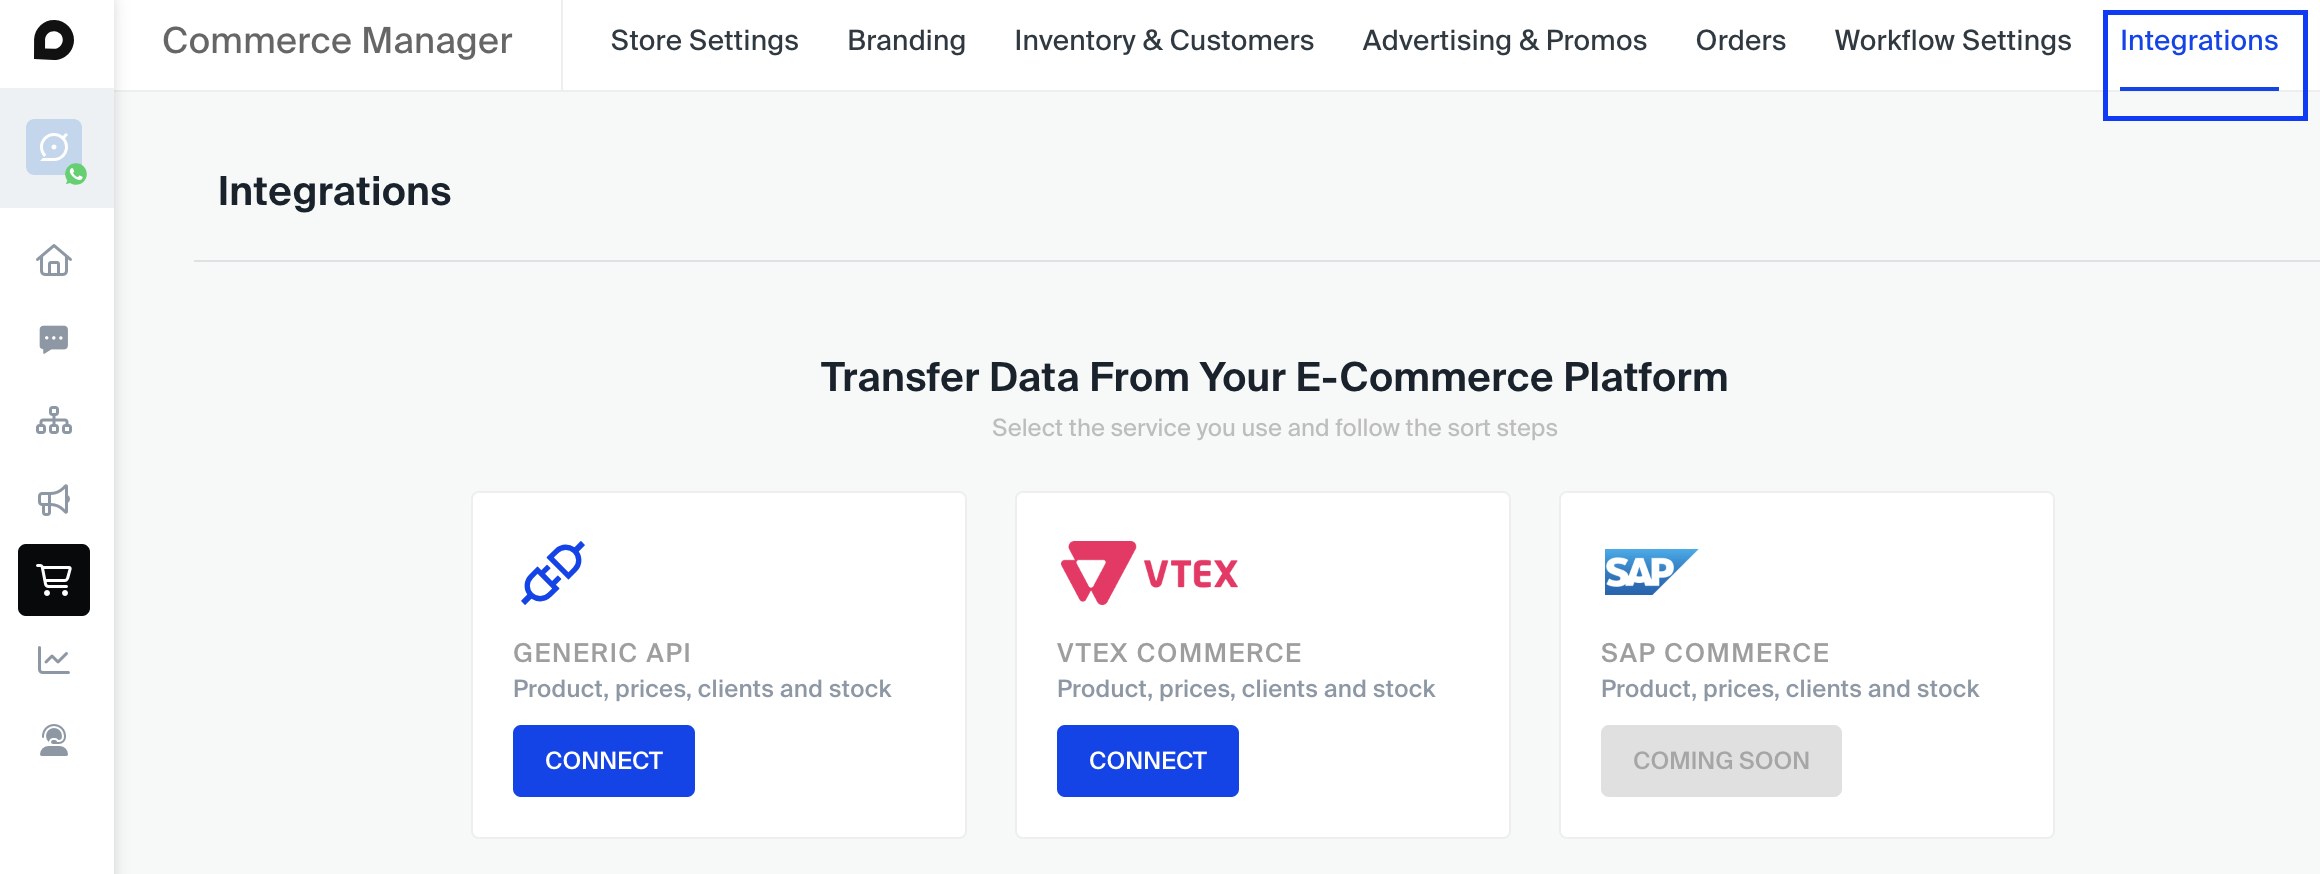
Integration Setup
Now let's begin setting up a new product integration, tab integration, click on connect in generic API.
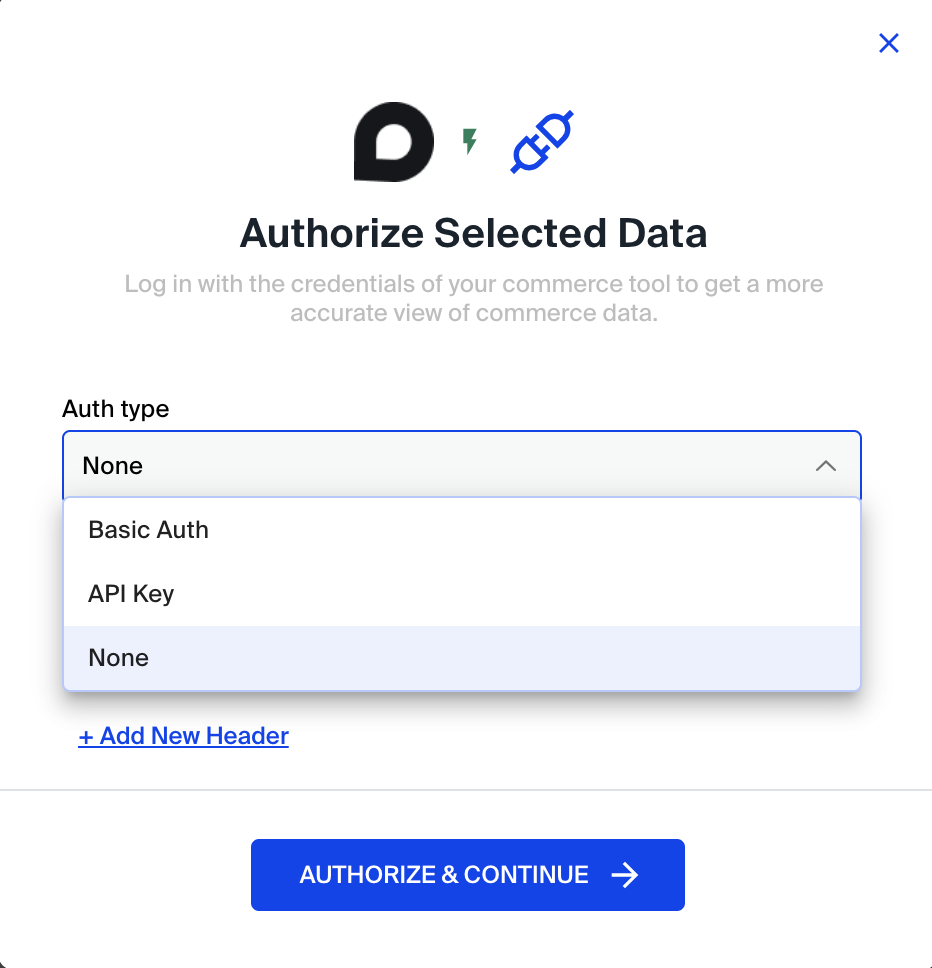
1 - Authentication
Configure the type of authentication that your API uses. Check for supported standards and if your API uses an unsupported model, please contact our support team.
2 - Field Mapping
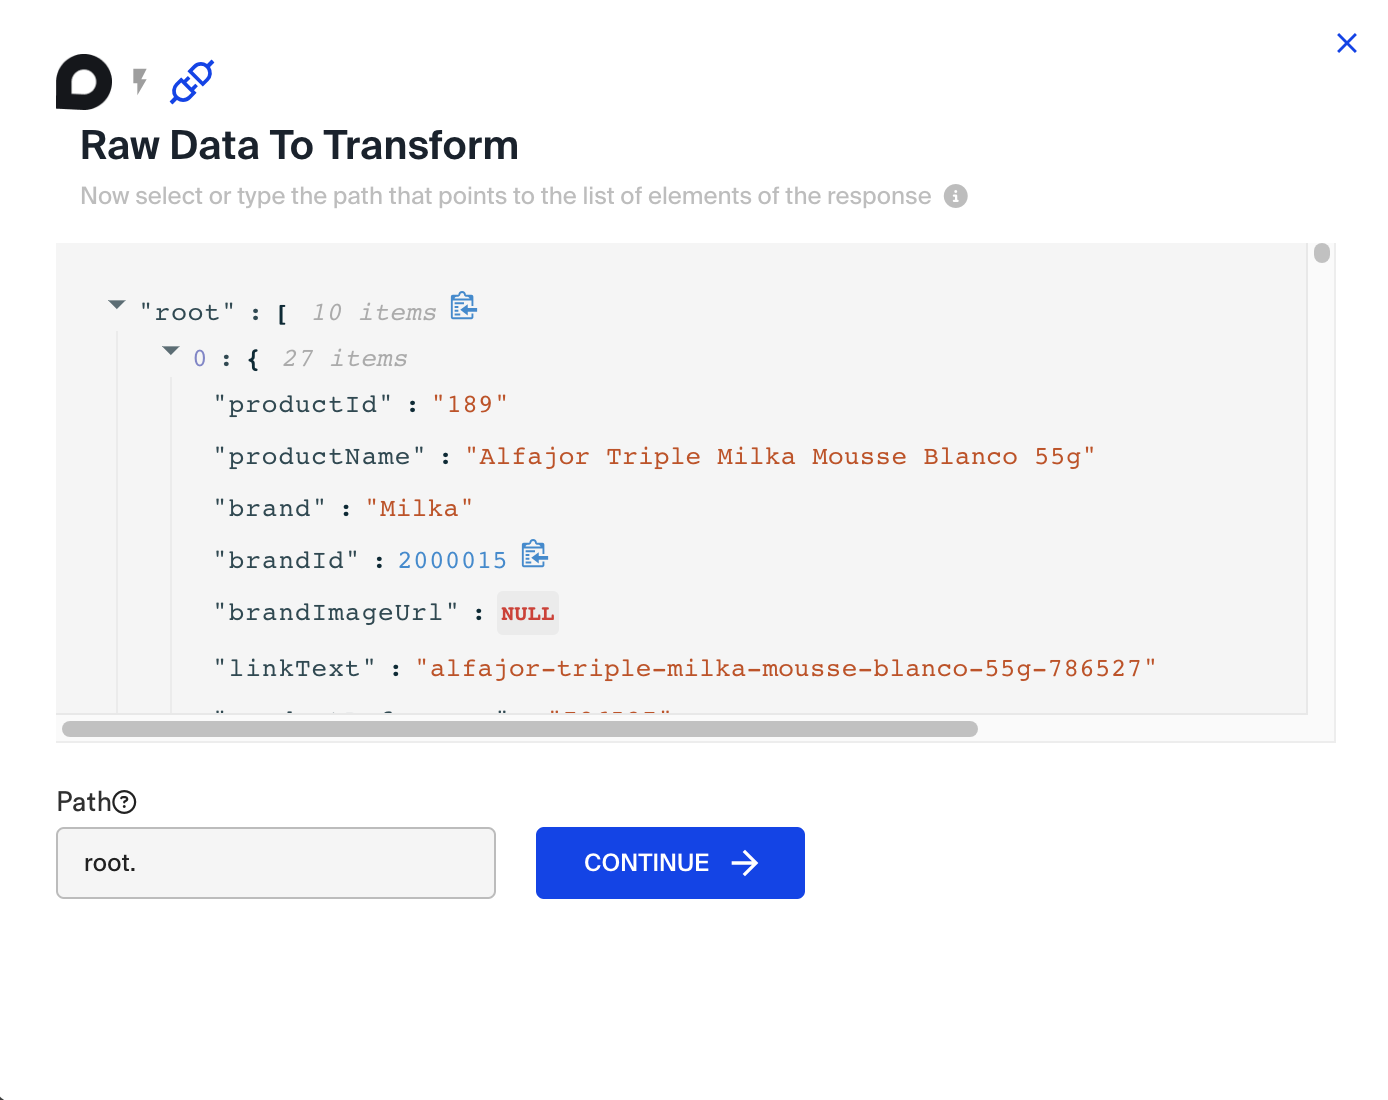
2.1 JSON Upload
Upload a sample JSON file from your API.
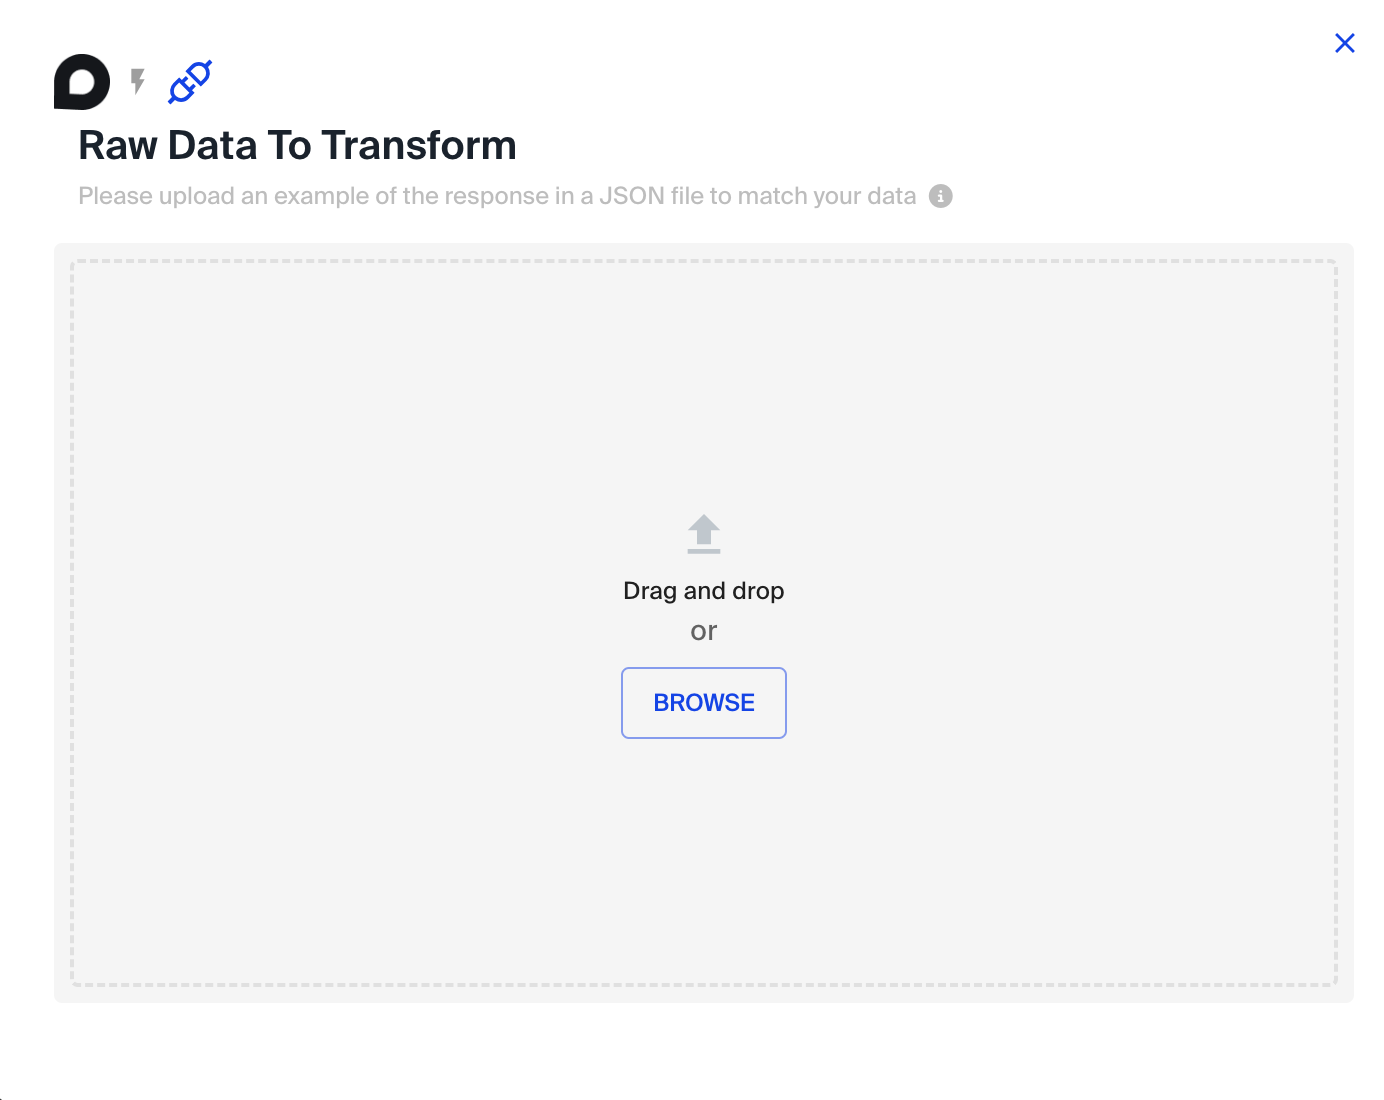
See how the upload is performed in the example below:
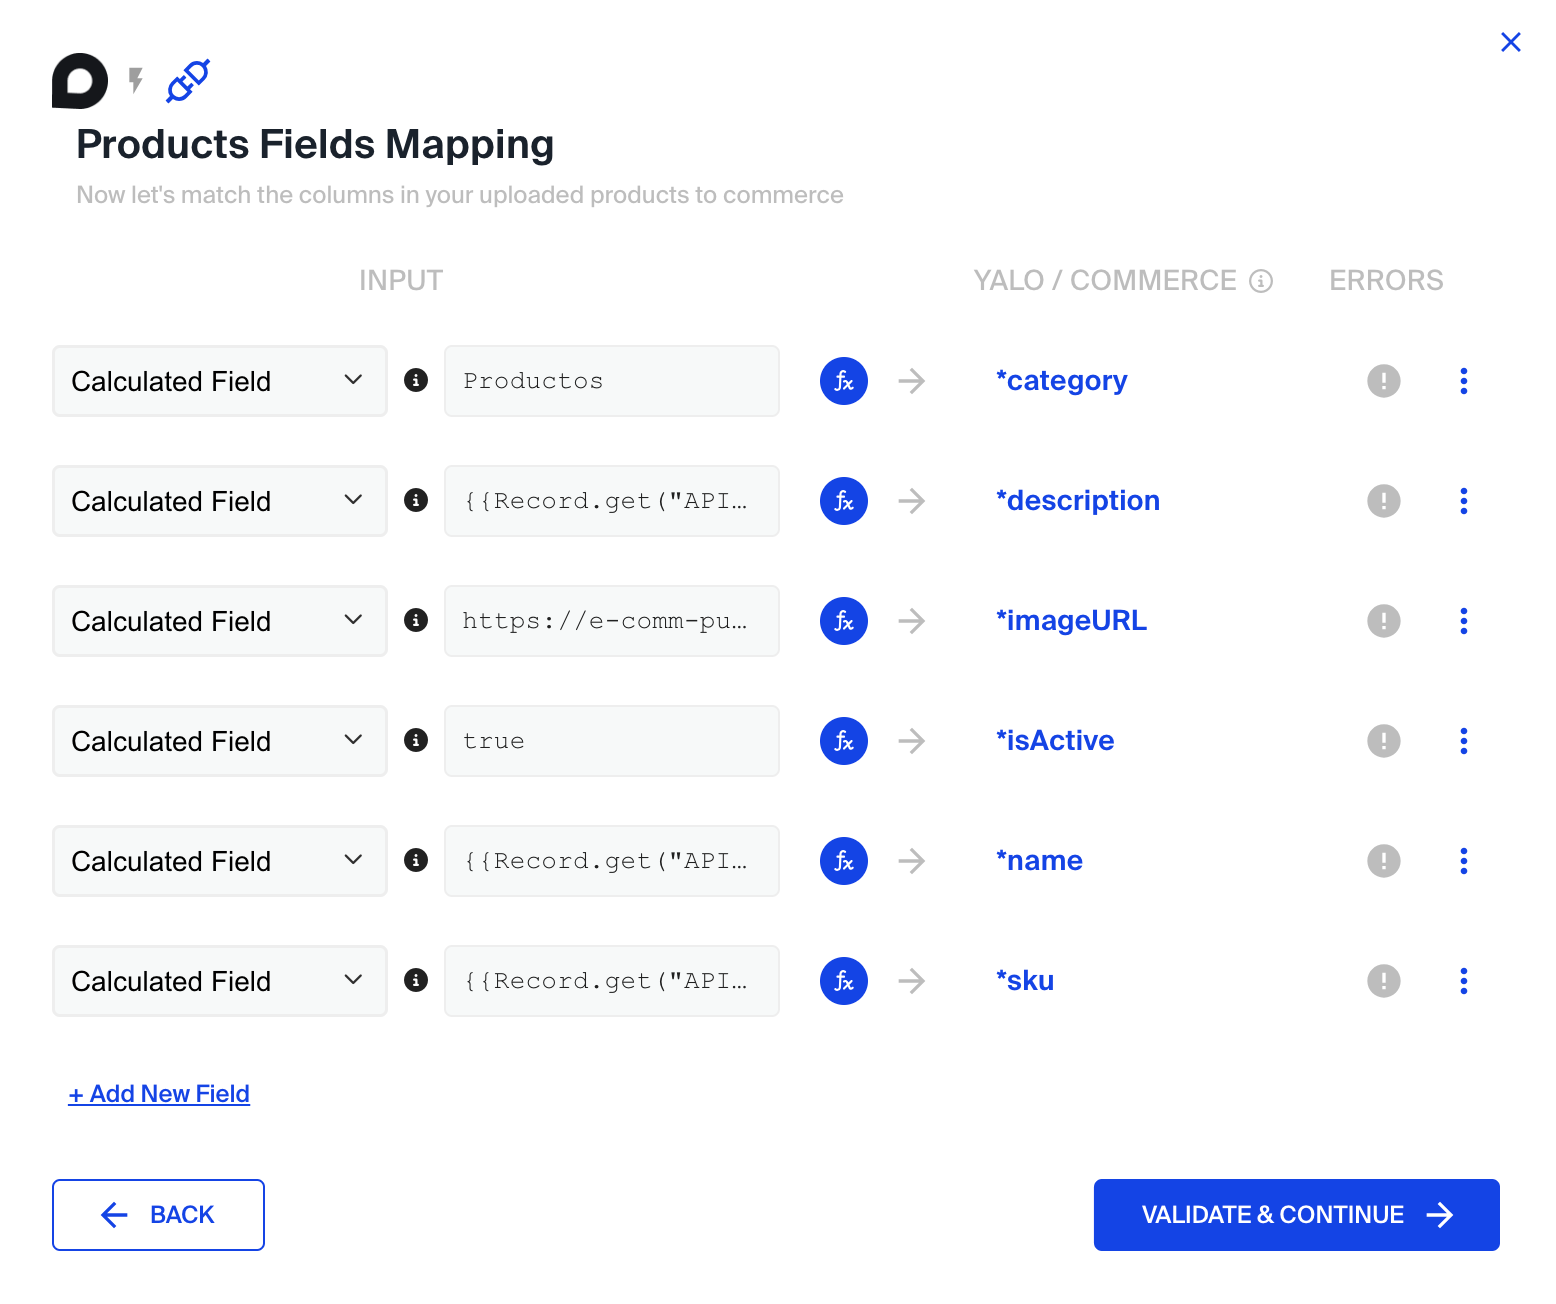
2.2 Mapping
Perform the field mapping, indicating which fields in your API correspond to the expected fields on the Yalo platform.
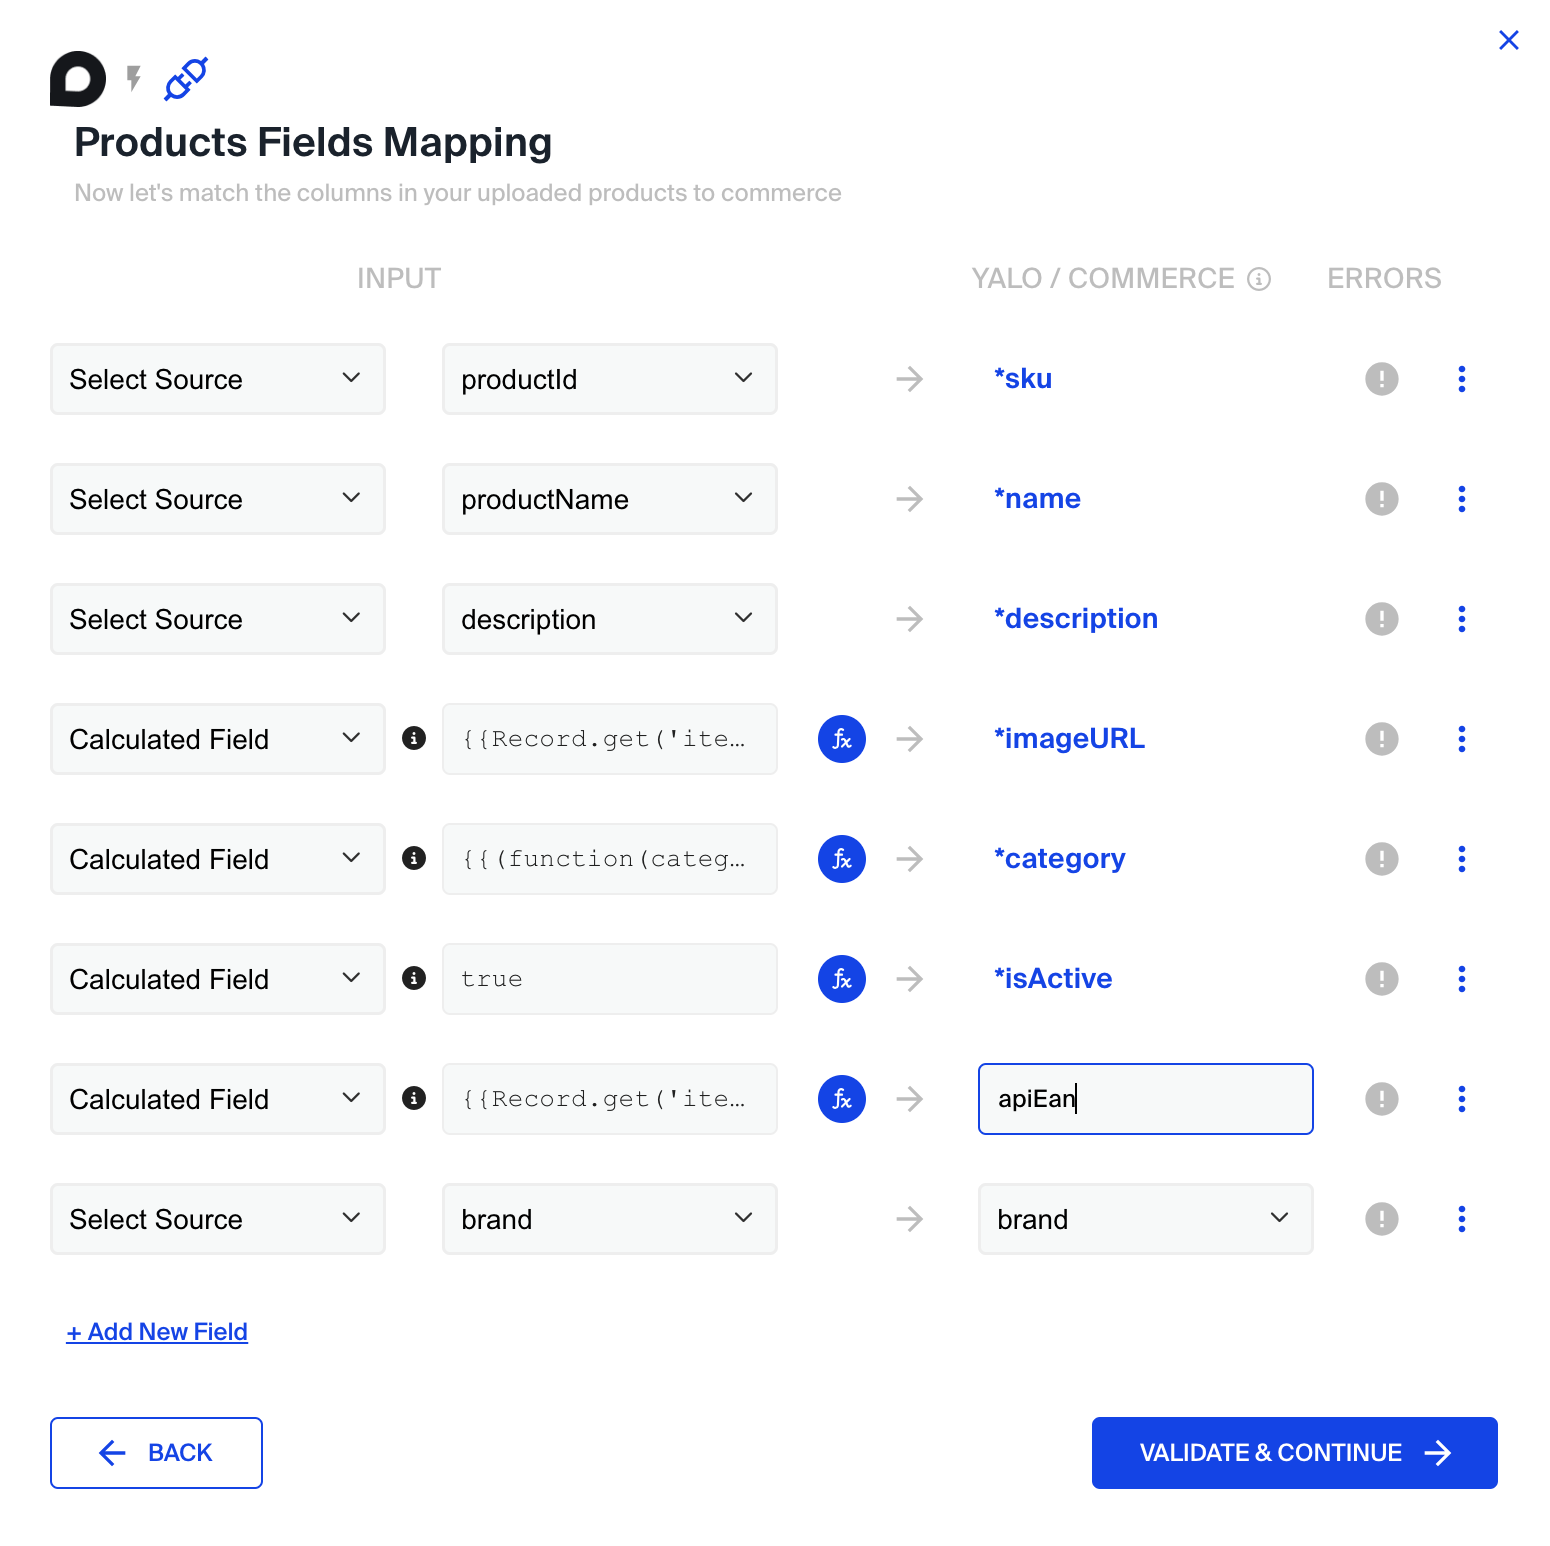
See how the upload is performed in the example below:
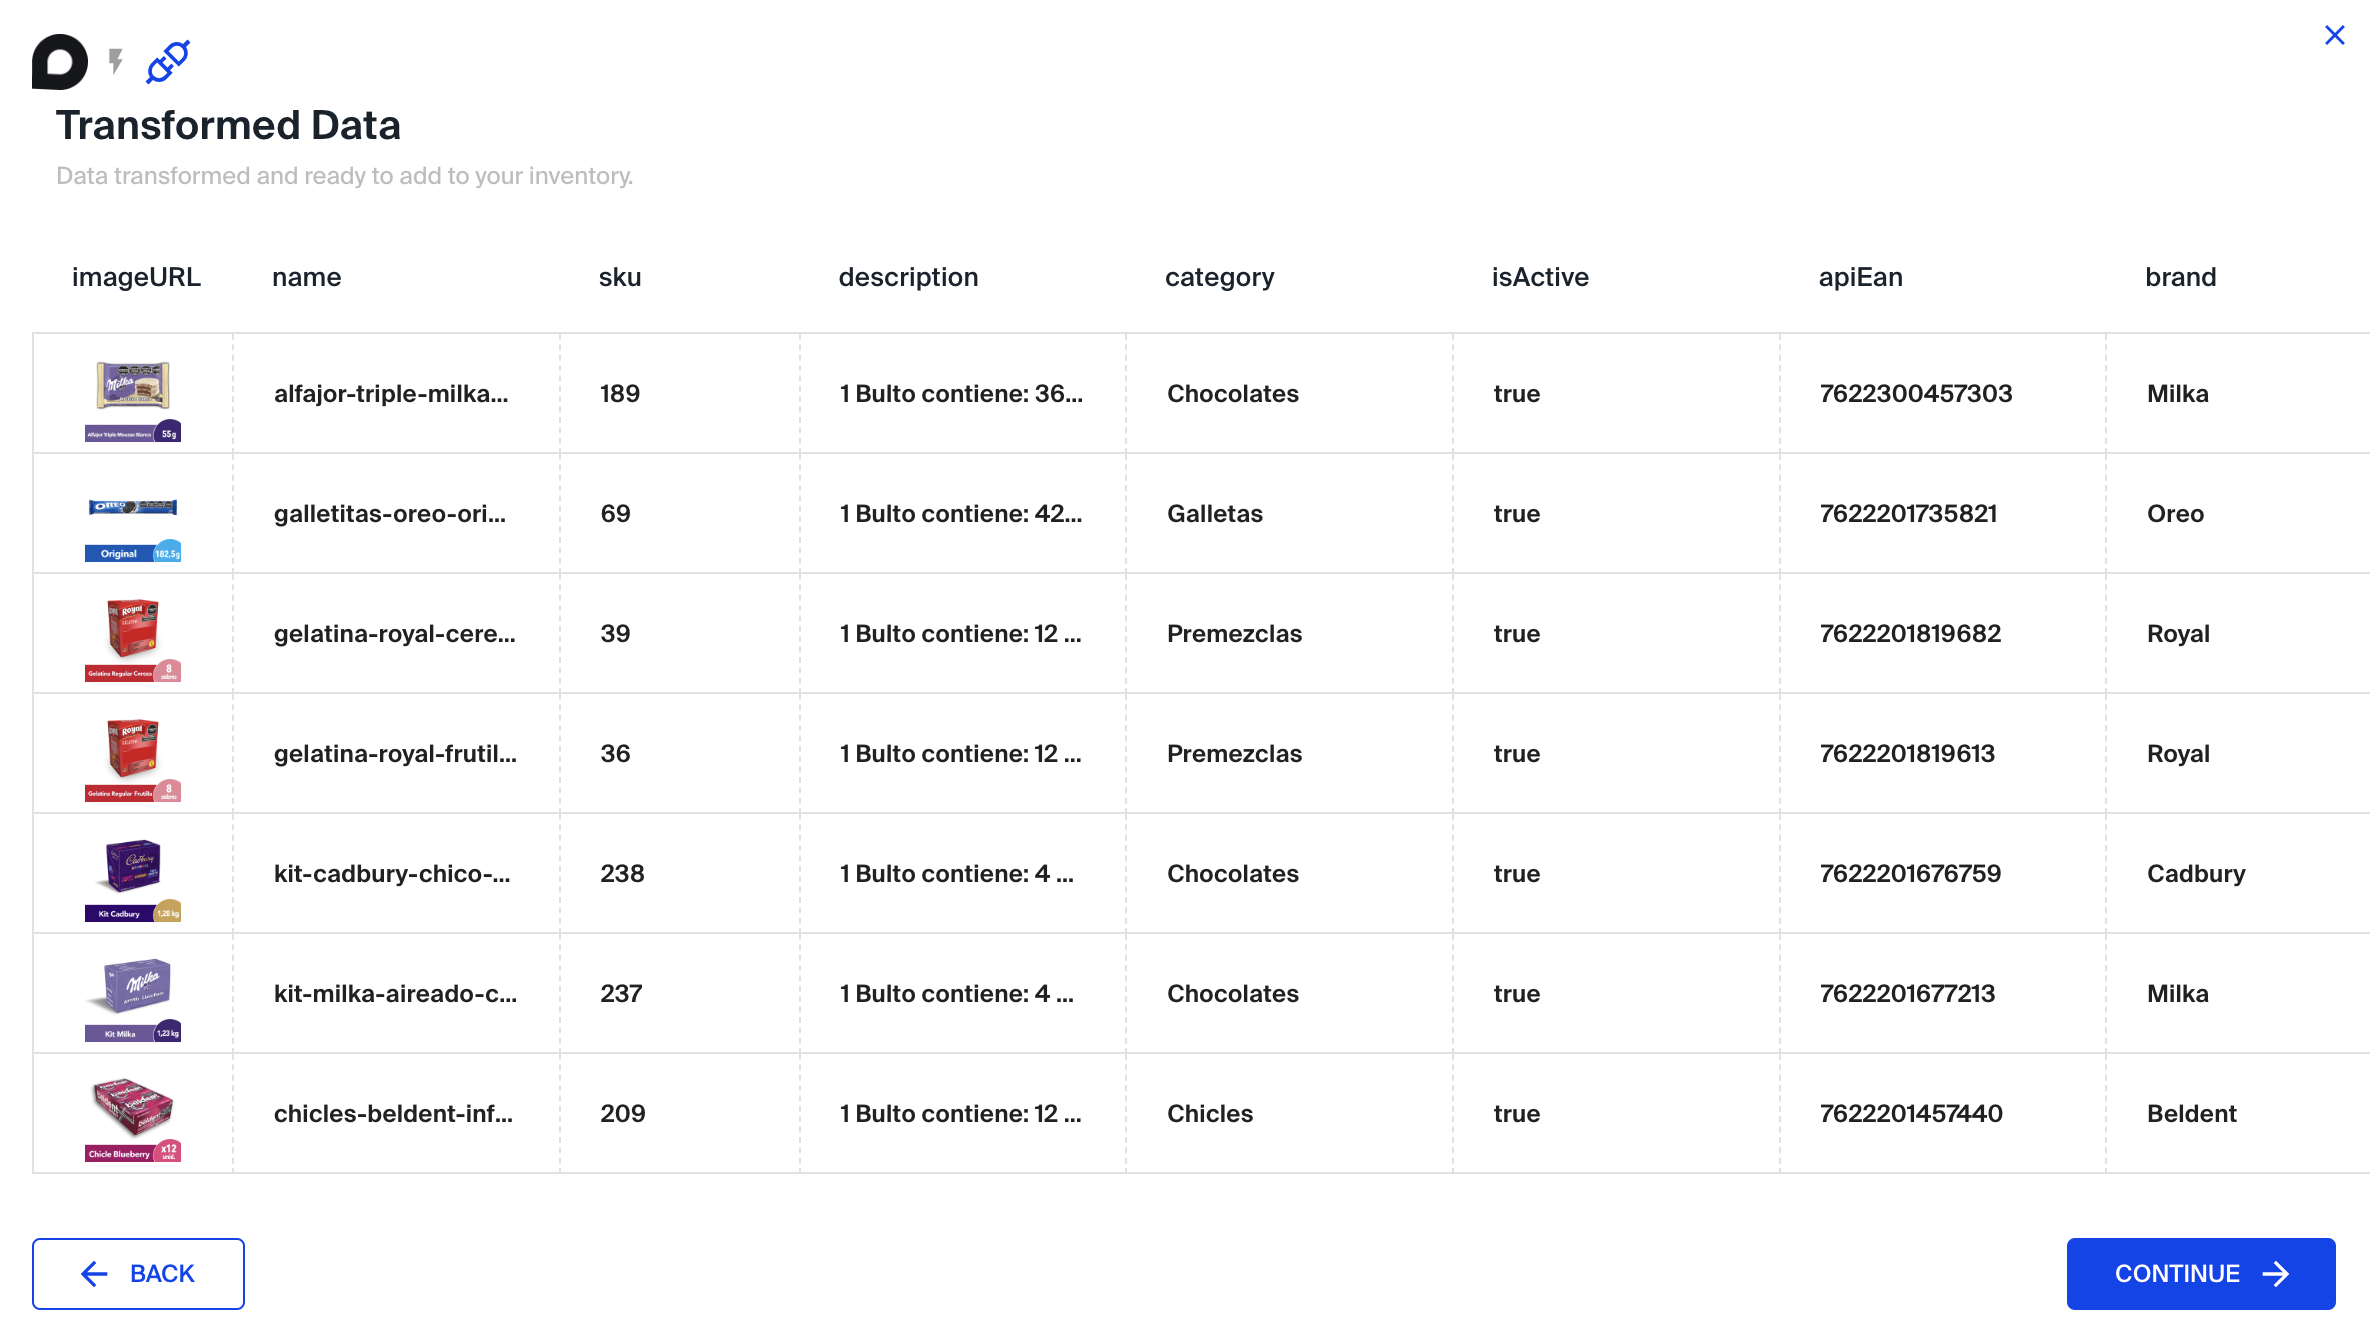
3 - Validation
After mapping, validate and preview if the result is as expected. If everything is in order, click "Continue". Otherwise, click "Back" to make adjustments.
Validate and preview:
4 - Scheduling Configuration
Set up how frequently the integration should query your API to update the data, you have two options Daily Frequency or Hourly Frequency see below:
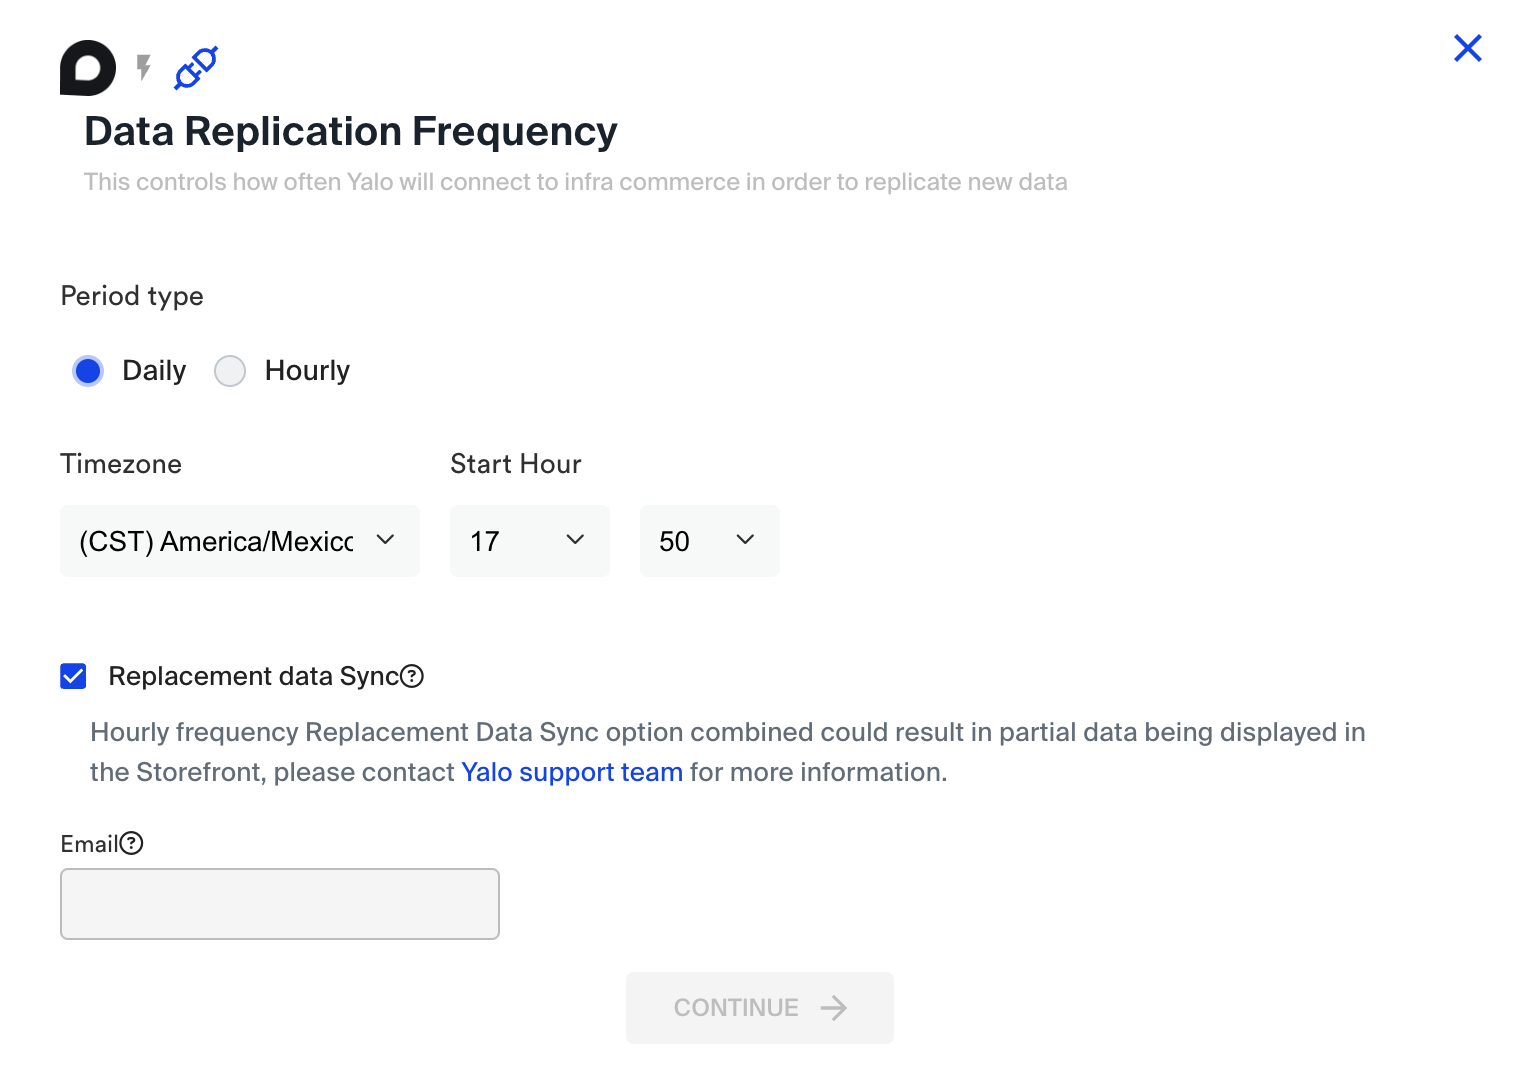
Daily Frequency
If you opt for daily configuration, set the time zone and the specific time for the query.
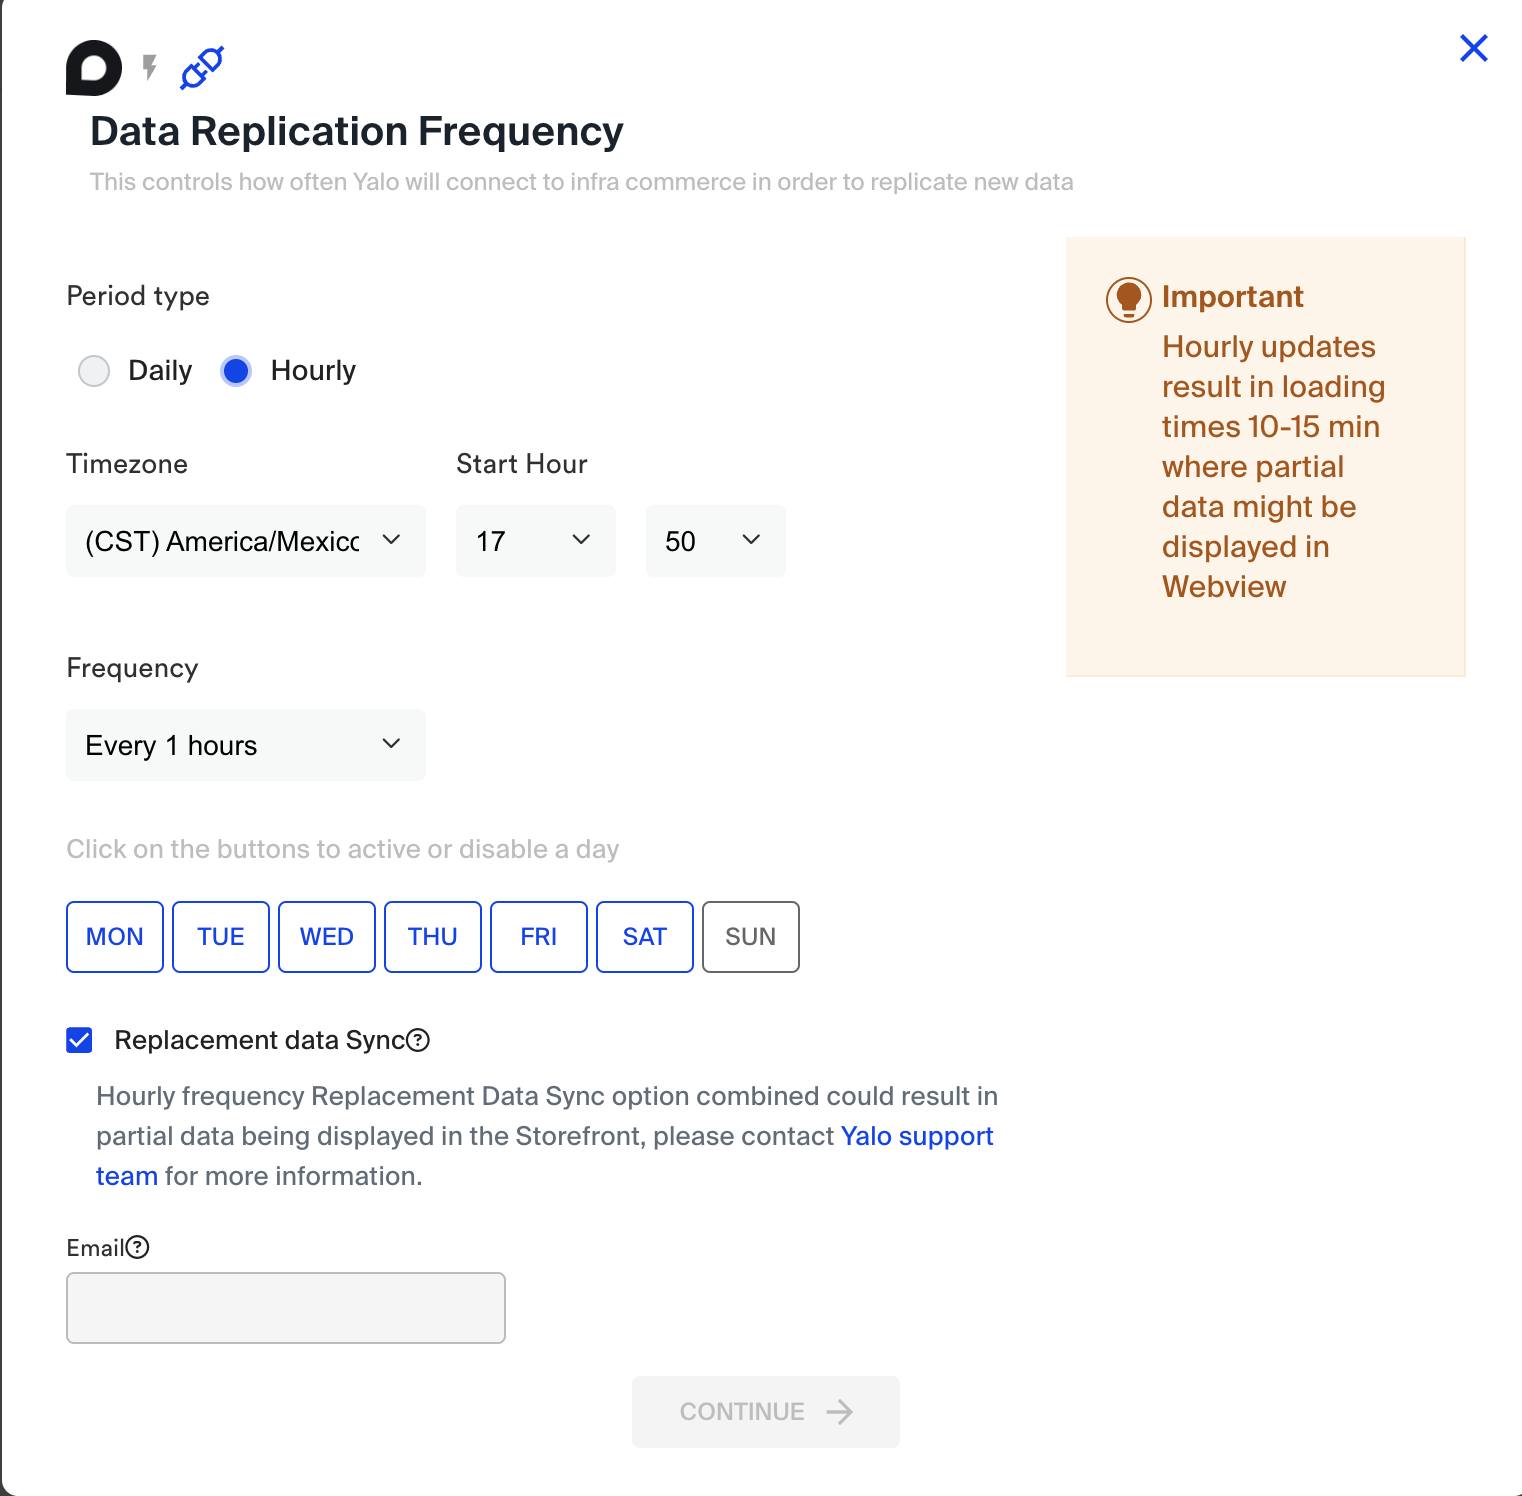
Hourly Frequency
If you opt for hourly configuration, set the time zone, time, and interval for the query.
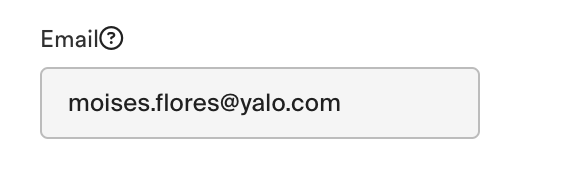
4.3 Alerts
In both cases, designate an email to receive alerts regarding the integration.
5 - Activation
Click "Continue" to activate your integration.
Your integration is now active and will run as configured. Simple and practical, isn't it? Let's start using it!
See below for the complete process: